
So you just received your Starlink RV Kit and can’t wait to try it out. Well, you have good reason to be excited, for you’re about to enjoy great speeds and low latency in even the most hard-to-reach locations, as that’s what Starlink is all about. And in case you’re wondering about a Starlink RV install, here’s a step-by-step guide.
Table of Contents
- What Starlink RV Equipment Does the Starlink RV Kit Come With?
- Starlink RV Setup
- Starlink RV Mount
- Starlink RV Review
- FAQs
- Conclusion
What Starlink RV Equipment Does the Starlink RV Kit Come With?
Like the Starlink Residential, the Starlink RV Kit comes preconnected with all you need to set up and connect to the internet, including:
- Dish: The standard Starlink RV comes with a portable Dishy McFlatface (Dishy), while the new Starlink RV, which you can use while in motion, has a flat high-performance dish.
- Base: A tripod stand for the Dishy
- Router
- Cable
However, unlike Starlink Residential, where you can order various accessories, such as an Ethernet adapter and mounts, the only Starlink RV accessory available is the RV case. So anything else you might need, for example, an RV-specific mount, you have to purchase from a third-party supplier.
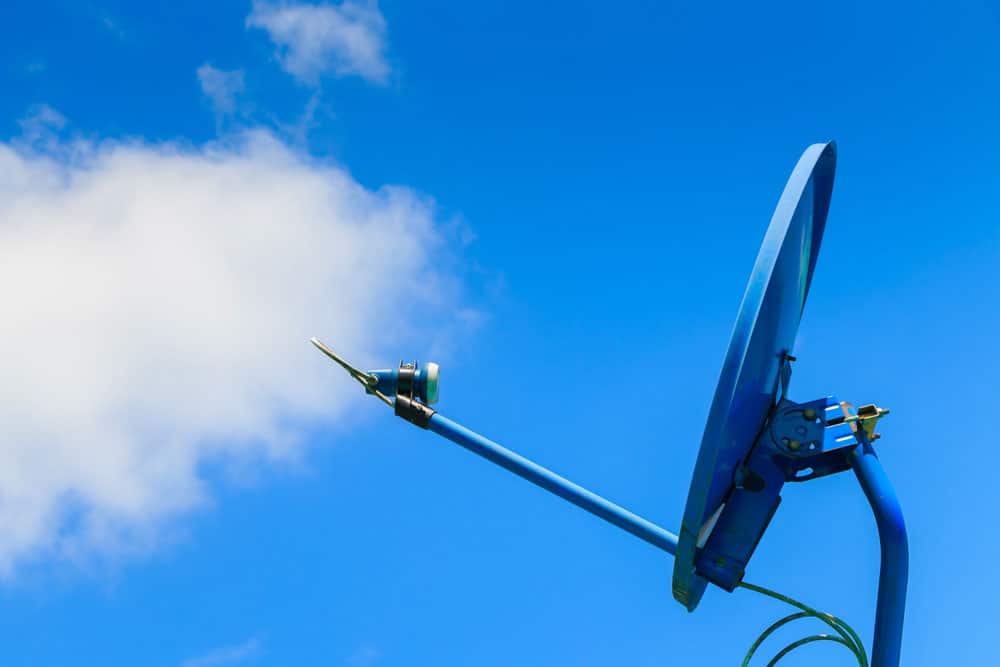
(Caption: Example of mount accessory)
Starlink RV Setup
Like Starlink Residential, you need a clear sky view for Starlink RV to connect. So first, ensure a clear sky view, then download the Starlink app to help you find the most suitable location for your dish. Now let’s get started with installing Starlink RV.
1. Mount the Dish
This tripod stand (base) works fine placed on the ground. Only you must place it some distance away from the rig.
Therefore, you’re better off placing the base on your RV’s roof. First, attach the base to the ladder portion on top of your RV, and then use a U-clamp or zip-tie to secure the base more firmly. That way, you elevate the dish, avoiding obstructions, and your dish is safer.
Now, connect the cable to the dish. Then place the dish on the base and fix all the nuts.
2. Wire the Data Cable
Run the dish cable into the RV through the window. Alternatively, drill a hole about three-quarters of an inch wide on the side of your RV, Then run the cable through the hole and seal the sides of the hole with filler.
(Caption: Image of ethernet cable)
3. Electrical Wiring
Now, unlike with the Starlink Residential router, you’re hard-pressed for energy in an RV operating on solar power and must save as much energy as possible. And since the router has no on/off switch, it will start up any time you turn on the power, using up to about 50 watts per hour. Therefore, installing a switch is a good idea, so your router only reboots when you want to turn it on.
To install a switch, wire the power outlet to the AC side of your power supply and wire the switch from the outlet. Then, hardwire the router to the switch by
- Splicing the Starlink power cable
- Wiring another power outlet
4. Test Connection
Now, connect the dish cable to the router, and plug in the router to a 110V power supply. Then, log into Starlink by entering your network name and password.
Note that the router will take 10 or 20 minutes to connect, blinking white as it searches for the network.
Eventually, it turns to a solid white, and you’ll get a notification that you’re all set. You can now test for speeds.
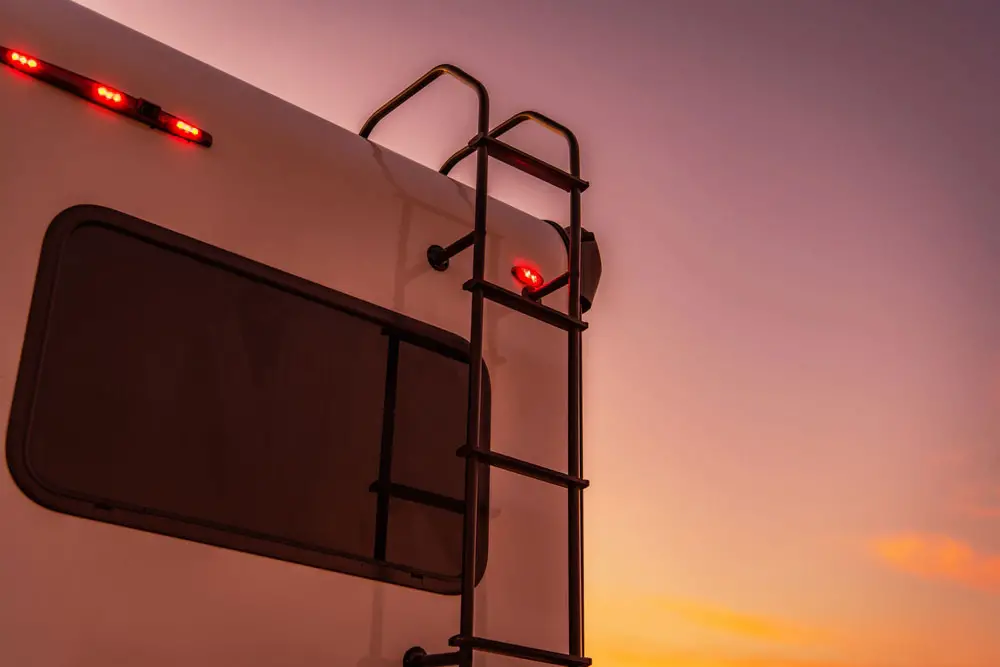
(Caption: Image of RV ladder)
Starlink RV Mount
Especially if you prefer to store your router outside your RV, you’ll need to mount it. And the easiest way to do that is in a hatch.
So, mount the router inside a hatch and install it on your RV. Just ensure you position the hatch somewhere it can reach the power source.
Starlink RV Review
Here’s a review of Starlink RV:
- Speeds: While Starlink RV could be better, it’s good enough, offering decent speeds and low latency. Several users, such as mariners, have canceled their service and switched to Starlink RV for its availability and stability in most areas.
- Pausing Capability: Starlink RV offers the unique capability to pause the service during the months you’re not using it. That way, you only pay for it when you use the service.
- Quick Availability: With Starlink RV, there’s no getting waitlisted until a subscription slot opens up. Instead, you get your Dishy immediately after you place an order, as the service offers prioritized access.
- Easy Setup: As we’ve seen, installing Starlink is not difficult. And once you set it up, it takes minutes to connect to the internet.
That said, nothing, including Starlink RV, is perfect. So here are some drawbacks of the service:
- Instability: Because Starlink prioritizes Residential users, Starlink RV subscribers often experience network instability during peak hours.
- High Cost: Starlink RV is quite expensive, especially the in-motion service. See the one-time $599 for the kit, $135 per month, and an additional $2,500 for in-motion hardware.

(Caption: Image of a campground with trees)
FAQs
How do I mount my Starlink dish to my RV?
Place the base on the ladder portion on the roof of your RV. Then secure it with a U-clamp or zip-tie and mount your Starlink dish onto it.
Can you convert Starlink RV to Starlink Residential?
No. Once you open an RV account, you cannot switch it to Residential.
How long does it take to set up Starlink RV?
After the installation process, it takes 10 to 20 minutes to have internet access. However, you should give it an additional 12 hours to reach optimal performance.
Is Starlink RV hardware different than Residential?
No, the Starlink RV hardware in the kit is the same as Residential’s. The difference is the accessories. While Starlink Residential has various accessories available for order from the official online store, Starlink RV has only the case.
Conclusion
There’s all there is to a Starlink RV install, plus tips and tricks to help make things better and more convenient for you to enjoy great speeds and latency in even some of the most remote regions during travel.