
Several J mounts are available in the market, but only a few qualify as the best J mount for Starlink.
Although most units have a universal design that can hold satellite TV, weather, and internet antennas, the best ones for Starlink should meet certain conditions, such as having a narrow pipe diameter.
We have listed the five best J mounts below and the hardware’s installation steps.
Read on to learn more!
Table of Contents
- What Is a J-Mount?
- Best J Mounts for Starlink
- How To Install a J Mount
- How To Secure a Starlink Dish to a J Mount
- Wrap Up
What Is a J-Mount?
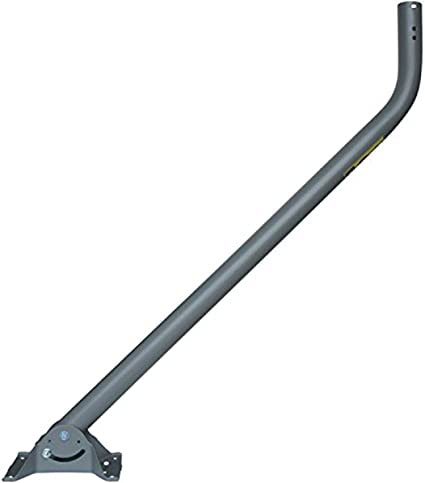
A J-mount is one of the cheapest installation kits for Starlink Dishy mounting.
The metal hardware usually consists of steel or aluminum and has a curved shape that resembles the letter J (hence the name).
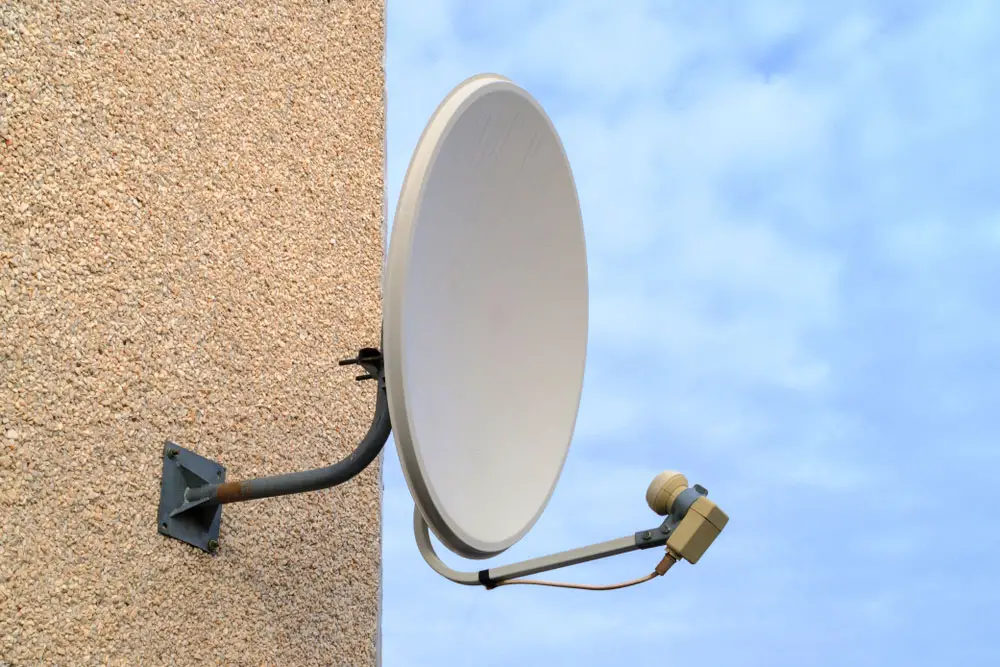
A satellite dish mounted on a wall using a J mount
These mounts usually have holes where you fix a dish mounting plate to hold the antenna in position.
On the other end is an adjustable wall bracket that allows the J mount to move until you lock the dish at the correct angle.
Best J Mounts for Starlink
Here are five of the best J mounts that work with Starlink.
Winegard DS2000A

The DS2000A is the best Starlink J mount because it includes a complete U-bolt kit (2-inch U bolts) for easy and secure dish installation.
Additionally, it measures 22 inches in length, which is the typical mast size for most J mounts.
With an extra broad base, the Starlink mount distributes the load weight evenly on the installed surface, which can be a roof, building side, or pole.
But the installation surface must be flat. The pipe is fully adjustable on the base, giving you multiple mounting angles.
The entire metal kit is E-coated for weather protection to ensure maximum durability.
Although not included, you can buy the universal antenna mount adapter to fit a smaller diameter pole on the antenna end.
SatelliteSale Universal J Pipe
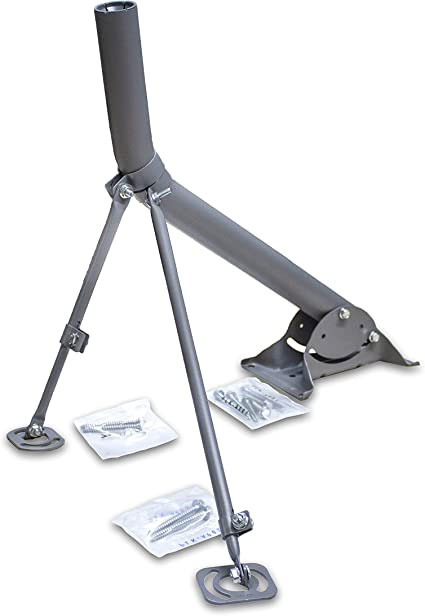
This universal J pipe is a tripod mount because it features two telescopic monopoles for better support.
So after fixing the baseplate to the installation surface, you can adjust the shorter monopole from 11-20 inches and the longer one from 17-30 inches before screwing all bases.
And on top of that, the unit has a bubble level built-in for easy alignment.
As for the J pipe, it is two inches in diameter, making it an ideal weather station, wireless signal booster, and DirecTV mount.
It can work as a Starlink mount, but you need an extra pipe adapter.
Another key selling point of this heavy-duty tripod base is its robust steel construction. It weighs eight pounds and can carry heavy items (dishes as heavy as 30 pounds).
So, the Starlink dish will be almost weightless.
Philips Universal J-Mount
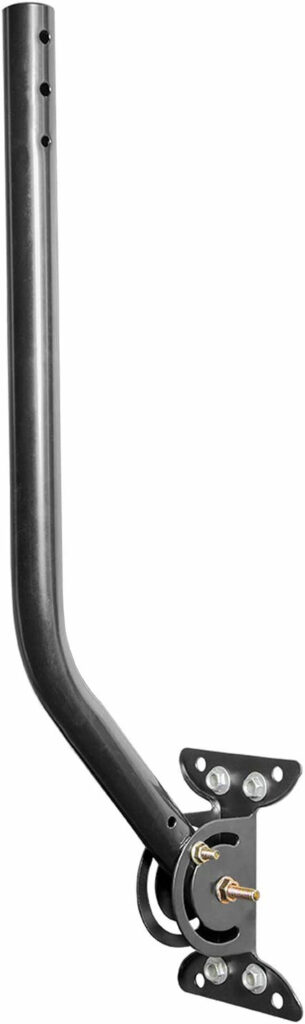
Although an affordable J mount for Starlink, this unit does not compromise quality.
It has a durable steel construction with a black coating for weather-proofing and blending in with its surroundings.
The mount base consists of an adjustable mounting bracket on which the pipe moves until you lock it at the preferred angle.
This dish pole is 17.5 inches long, making it ideal for mounting Starlink antennas in the attic or outdoors.
If you encounter any issues with the device, Philips assures customers of US-based technical support and a limited lifetime replacement pledge.
Proxicast Pro-Grade J-Max
This J-Max features a heavy-duty stainless steel and aluminum construction that is rust-free and can hold heavy items.
The mounting hardware comprises heavy-duty steel, while the arm and bracket are aluminum-made.
The bracket includes a unique locking pin that holds heavy antennas more stably at 0°, +45°, and -45° angles.
Proxicast has a few additions for the J mount, including a cross boom to increase the space available for installing more antennas.
You can also add a flexible mounting bracket for better flexibility when fixing and positioning directional antennas.
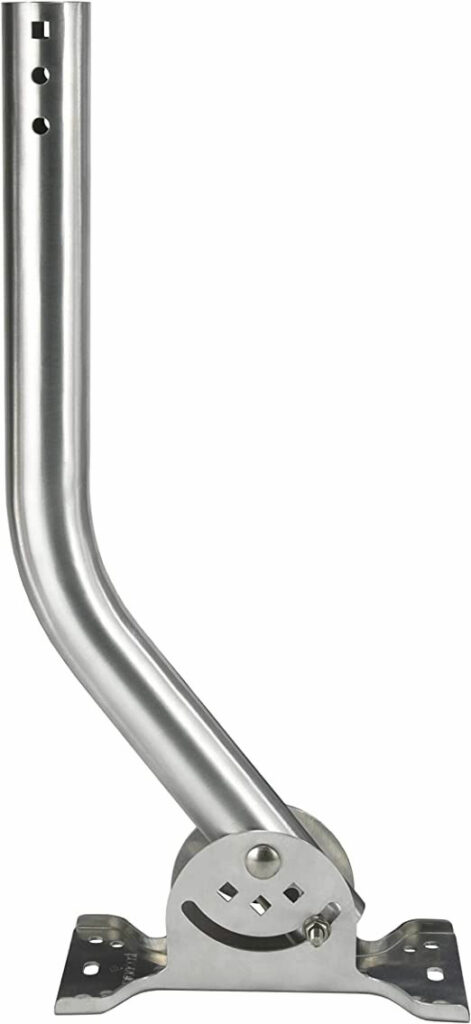
Winegard DS-3000
The DS-3000 is a taller mount than its sibling (DS2000A) because it measures 3 ft (39 inches) long.
This extra height clearance raises the antenna above obstacles to enhance performance.
It features an extra broad base for better stability when mounted on a flat surface.
A heavy-duty galvanized steel construction also helps the pole hold heavy loads without breaking.
The galvanized material has an E-coat finish to protect the metal from rust, so you can install the unit on an exterior wall or flat roof.
How To Install a J Mount
Although the mounting instructions vary depending on the manufacturer, the typical installation steps include the following.
- Pick a mounting location, such as an exterior wall or roof. We recommend mounting the unit on an external wall to avoid having roof leaks after drilling into the roofing material.
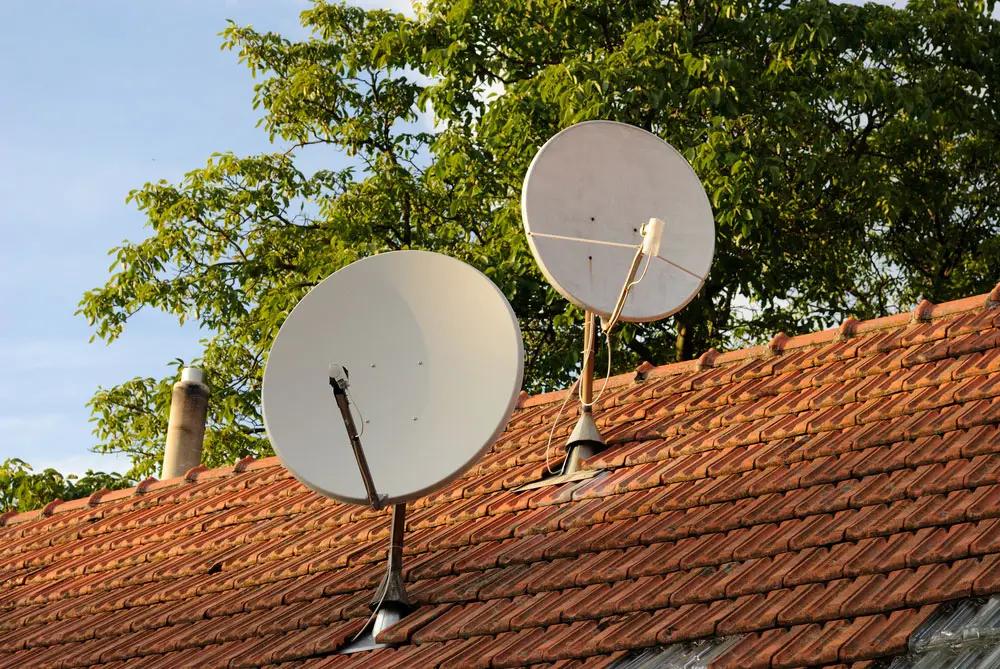
A roof installation of satellite dishes
- Select the mounting hardware. Most J mounts come with this hardware, which will depend on the installation surface. For instance, wood lag screws will work for wood surfaces, but you might need steel nails for brick or concrete.
- Lay out the J mount and level, then mark the drilling holes.
- Drill the pilot holes for the screws or nails.
- Secure the base plate to the mounting surface using the nails/screws. Use the level to ensure everything looks good.
- Use the level to align the dish mast vertically.
- Fasten the angle adjustment nuts to lock the antenna J-mount in place.
- Install the Starlink antenna mast on the J mount.

A rectangular Starlink dish is mounted outside a window. Note it’s mast.
- Secure it to the dish mast to the J mount.
- Plug in the Starlink dish, then let it boot up and establish a connection with the satellite in space. If there are no error messages, you are good to go.
How To Secure a Starlink Dish to a J Mount
Most aftermarket J mounts have a universal design that can fit satellite TV, internet, weather station antennas, plus more.
But you will most likely need an adapter to secure the round or rectangular dish because the Starlink mast diameter is smaller than the internal diameter of the J mount pipe.
So here are some solutions you can use to make the two pieces diameter-compatible.
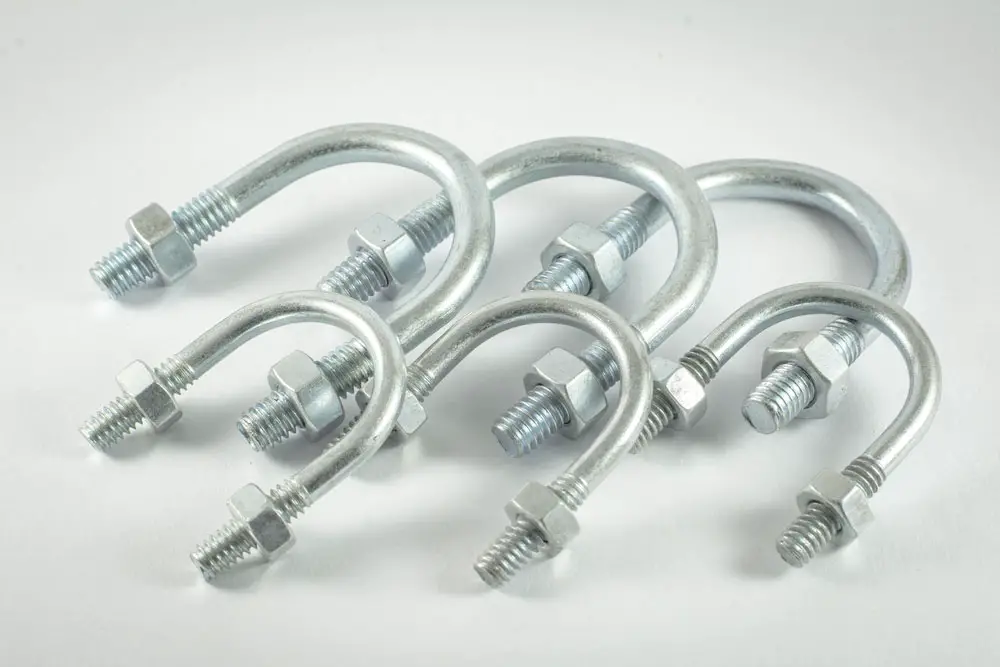
Universal Mount Adapter
This adapter is the most straightforward way to secure the antenna mast to the J mount pipe. It consists of a metal plate with two U bolts.
One fastens on the antenna mast while the other tightens around the J mount pipe.
The two bolts tighten both poles around semi-circular parts of the plate with teeth for firm holding.
The metal plate then joins the two.
U-Bolts
Winegard DS2000A includes these two U bolts for secure installation, so you don’t need extra hardware when you buy that J mount.
And like the universal mount adapter, this option does not modify the mast or pipe.
Instead, it relies on pressure from clamping the outer J pipe to press on the mast.
But you might have to use electrical tape to wrap around the Starlink mast to fill the gap.
U bolts
Drilling
Drilling permanently modifies the J mount pipe. However, some come pre-drilled, so you won’t have to do any modifications.
With the holes in place, you can use either of these options.
Bolts
Fitting one or two bolts through the outer pipe with the mast inserted will lock the two together.
But remember to remove spring tabs on the Starlink mast to get a through-hole, then insert the bolt and secure it with a nut (and a washer in the middle).
Starlink Spring Tabs
Alternatively, you can use the spring tabs, which must align with the holes drilled through the J mount pipe to snap in place when you slide the mast inside.
But the Starlink rectangular dish has square tabs, meaning you need a Dremel or hand tool to cut a square shape.
However, spring tabs won’t work if the space between the mast and the pipe is too broad.
The rectangular Starlink dish
Wrap Up
In conclusion, J mounts are some of the best mounting options for Starlink, and you need to get the best unit from the five listed above.
Also, ensure you follow the installation steps listed earlier and contact us if you encounter challenges in the mounting process.
We’ll be happy to help.