
Several factors can make an internet connection spotty. For example, maybe your house has too many walls or more than one floor. Or there are many trees or other obstructions nearby. The solution is to extend coverage. If you’re wondering how to extend Starlink wifi coverage, read on to learn how.
Table of Contents
- How Far Does Starlink wifi Router Reach?
- How to Extend Starlink wifi Range
- Can You Add a wifi Extender to Starlink? How to Connect wifi Extender to Starlink
- Starlink wifi Mesh: How to Set Up a Mesh Network With Starlink
- FAQs
- Conclusion
How Far Does Starlink wifi Router Reach?
Regarding range, the Starlink wifi router is powerful and can reach up to 200 feet. That means it’s most effective at a range of 200 feet. Any further, the signal starts to weaken.
Keep in mind, though, that obstructions like walls, metal, and trees significantly affect how far the Starlink wifi router reaches. For example, trees or other objects in your yard will weaken the signal, while if your yard is clear, your Starlink wifi router range could increase.
How to Extend Starlink wifi Range
Here’s how to extend Starlink’s wifi range:
- First, look for a high location to place the router and move it there.
- For devices that are further away, connect them to the 2.4GHz band. Doing so ensures the devices maintain their connection stability. Naturally, you might assume you’re better off with a 5GHz band. However, although a 5GHz band will greatly enhance speeds, physics dictates that 2.4GHz is better for range.
- Note that items like baby monitors, microwave ovens, and cordless phones interfere with the Starlink router’s signal. So move your router away from such interferences to improve your router’s range and stability.
- Using a Starlink mesh network is the simplest way to increase range. And you can order this accessory from Starlink’s official online store or aftermarket from a reputable retailer.
- The Starlink Ethernet adapter enables a hard-wired connection to the Starlink router, where you can connect additional wireless access points to extend range.
- Another way to extend Starlink is to connect the Starlink router to a third-party mesh wifi system. To do so, once again, you will need the Starlink Ethernet adapter. In addition, you must enable bypass (bridge) mode on the router to ensure no other NAT (Network Adress Translation) layer occurs on your network. Some fast and stable third-party mesh wifi systems include Ubiquiti AmpliFi, Netgear Orbi, and Google Net.
- Further, you can connect a powerline adapter using a Starlink Ethernet adapter or other internet bridge requiring no running wires or cables.
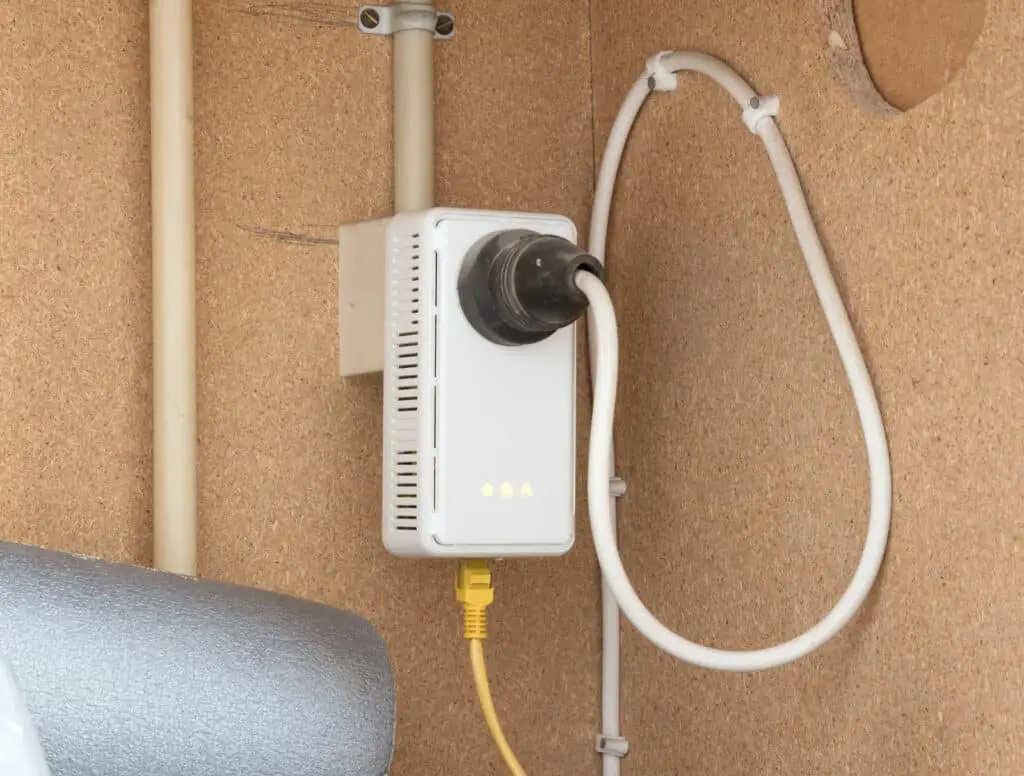
Caption: Image of a powerline adapter
Then at the other end of the adapter, connect a wireless access point, computer, or ethernet switch.
- Lastly, you can use a wifi Extender, which you can purchase from the company’s official online store or an authorized retailer.
Can You Add a wifi Extender to Starlink? How to Connect wifi Extender to Starlink
Here’s how to add a wifi extender to Starlink.
- First, connect the extender to the router.
- After the light on the front turns green, press the WPS button on the router for a few seconds. Then press the WPS button on the extender.
- Next, open a web browser on your computer device and enter “19216817” in the search bar. You’re directed to the Router’s Configuration Panel, where you can log in.
- To log in, you need to enter your username and password. If you don’t remember, the default login details are on a sticker beneath the extender. So if you’ve never changed your password, you can use those. Alternatively, contact your ISP for assistance.
- After accessing the Router’s Admin Page, the next step depends on your router’s firmware version.
- If it’s a 2xxx, select Wireless on the Menu, Basic Settings, and then Security Mode. When you click on Security Mode, there’s a dropdown menu. Select WPA2-Personal. Next, enter a password under the WPA Shared key and click on save. Remember this password or jot it down somewhere, as you will use it to connect devices to your network.
- If your router’s firmware version is 3xxx, select Wireless from the menu, then go to Security Settings. Then Select WPA-2-Personal from the dropdown menu to get to the Password section. Now click on edit and enter a new password, at least eight characters long, and then click on save.
- Next, press the back key to return to the previous page (The Router’s Admin Page).
- Now go to Wireless, then Basic Settings.
- For the 2xxx, click on “Mixed” for the Network Mode
- For 3xxx firmware versions, select “Dual Band” as the Radio Band, click on Channel Selection, and Auto Channel Scan.
Starlink wifi Mesh: How to Set Up a Mesh Network With Starlink
You can easily set up a Starlink mesh network with Starlink by following these simple steps:
- First, decide where you want to set up the mesh node. Then plug it into the AC power.
- Immediately, you will receive a prompt on your phone through the Starlink app asking you to pair with the newly detected node. Select Pair.
- Within 30 seconds, the pairing is complete and ready to use.
FAQs
How can you boost Starlink’s signal? How can you boost Starlink wifi?
An easy way to boost Starlink’s signal is by using a Starlink Wifi Extender. This accessory is available at the Starlink online store or an authorized dealer.
How far can Starlink dish be from the router?
You can position your Starlink dish up to 150 feet from the house using the 150-foot extension cable that comes with your kit. Any further, and you will need to extend the signal wirelessly.
Can you use your mesh wifi with Starlink?
Yes, you can. But you will need a Starlink Ethernet adapter. First, connect your router to the adapter. Next, change the input from the router to the adapter. Lastly, you will need to run an Ethernet cable. And this is the cable you’ll run from the adapter to the other devices.
Conclusion
Sometimes extending your Starlink wifi range is inevitable. Thankfully, now you know various tips on how to go about your Starlink wifi router’s coverage. Whichever approach you choose, remember to purchase the equipment from the Starlink online shop or an authorized dealer.
