
Starlink brought about equality in high-speed internet access, whether you live in the city or rural areas. However, it has one major issue. The hardware can gobble up a lot of electricity. This high power use isn’t much of a problem if you are a grid customer. But it will drain your power source quickly if you run on battery power (off-grid). So it is vital to know how much energy your internet hardware consumes to keep you online. We will answer this question and show you how to monitor Starlink power consumption. Read on to learn more!
Table of Contents
- Starlink Models
- Factors Affecting Starlink Power Consumption
- How To Monitor Starlink Power Consumption Using a Shelly Plug
- Wrap Up
Starlink Models
Before we get into the power usage ratings, we will look at the available Starlink models because they have different energy consumption figures.
- Standard or RV: This second version of Starlink Dishy is the most popular model and comes with a rectangular dish.
- High Performance: A larger version of the rectangular Starlink standard dish, the high-performance kit is ideal for business use.
- Original Circular Dish: This first version of the Starlink dish is no longer in production, but some users prefer it.
RV/Standard Starlink Model Power Usage
Starlink’s new second-generation Dishy McFlatface is smaller and lighter than its predecessor. And it consumes less power too. The rectangular dish has an average power usage of 50-75 Watts when the antenna, power supply, router, and cables are in use.
But it consumes more power when booting, then tones down to 50-75W after acquiring multiple satellites. However, when not in active service (zero activity on your WiFi network and no satellite connections), consumption lowers to 20-30W.
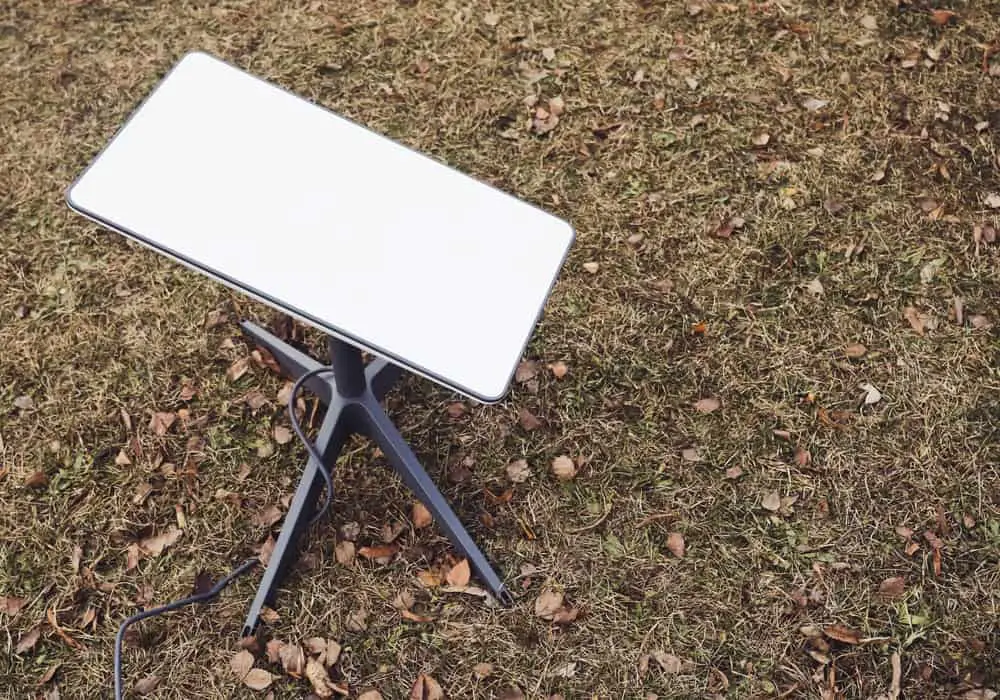
The second-generation rectangular Starlink Dishy
In contrast, a cellular connection with a mini 5G router, two 5G cellular radios, two dual-band WAN & WiFi radios, and all ethernet ports, consumes about 19W. So the Starlink standard model with zero activity requires more power than a cellular network connection.
Currently, the hardware only runs on 100-240V AC at 50-60Hz and draws 2A at this AC voltage. The rectangular dish and its accompanying hardware can operate more efficiently on DC power, but this option is unavailable officially.
However, there is an unofficial way to convert the system from AC power to DC power using an ethernet adapter and 3rd party router. And it works!
High-Performance Starlink Model Power Usage
The Starlink business rectangular dish comes in two types.
- High Performance: Gives faster internet speeds at high temperatures and connects to more satellites. It is more resilient to extreme conditions (IP56), making it ideal for businesses, power users, and enterprise applications.
- Flat High Performance: With its enhanced GPS capabilities and wide field of view, this rectangular dish can connect to more satellites to ensure a consistent internet connection on the move. So it is ideal for challenging environments and mobility applications. This Dishy McFlatface has a permanent installation design and is more resilient to extreme conditions (IP56). However, it is only available for in-motion use in specific countries.
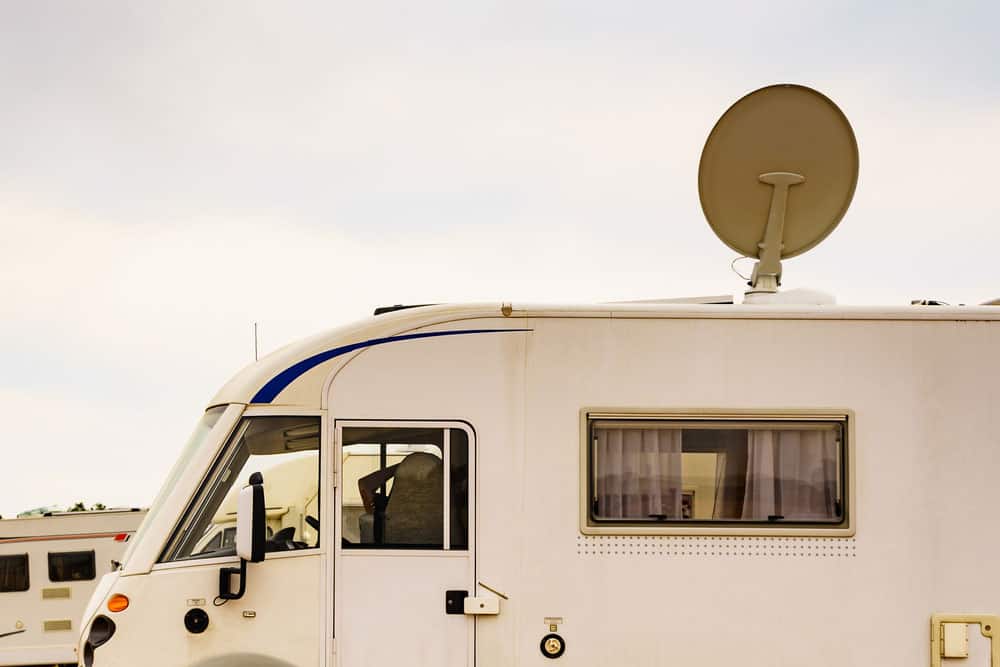
A motorhome with a satellite dish
Both options have the same power rating of 110-150 Watts when the Starlink dish, router, power supply, and cables are in use.
Like its Standard/RV counterpart, this model consumes more power when booting and configuring. The power usage will be on the higher end (closer to 150W) with constant network activity but can reduce after connecting to satellites for several minutes.
The hardware uses 100-240V AC at 50-60Hz and draws about 45W when idle. Its current draw is higher than the Standard type because it pulls 4.5A (more than double).
Original Starlink Model Power Consumption
These models have a round Starlink Dishy that gobbles up an average of 65-100 Watts (dish/antenna, router, power supply, and cables). So the larger outdated first-generation dish is not as energy efficient as its successor.

The first generation round Starlink Dishy
The Starlink kit draws 40-60 Watts when idle but will pull more power under heavy internet traffic or when booting and configuring. Like the other two, this round Dishy system runs on 100-240V AC at 50-60Hz, with a current draw of 5A. So it is less efficient than the high-performance dish.
Factors Affecting Starlink Power Consumption
Looking at the power ratings of the three Starlink models, you can see the consumption varies by a wide margin. The factors causing these variations include the following.
Obstructions
Objects like trees, buildings, or hills between the Starlink dish and the sky can increase the kit’s power consumption. Remember, the Dishy consumes more energy when starting up and configuring, which includes when connecting to satellites. The obstructions will make Dishy attempt to reconnect with satellites several times, creating a high energy demand. Also, these disconnection-reconnection interruptions will disrupt your internet service and give you slower speeds.
Weather
A Starlink dish can operate in most weather conditions, but a clear sky is ideal. Heavy rain, thick cloud cover, thunderstorms, and other types of heavy weather will increase the Starlink kit’s power consumption. The dish will have to send more powerful signals to pass through these weather-related obstructions.
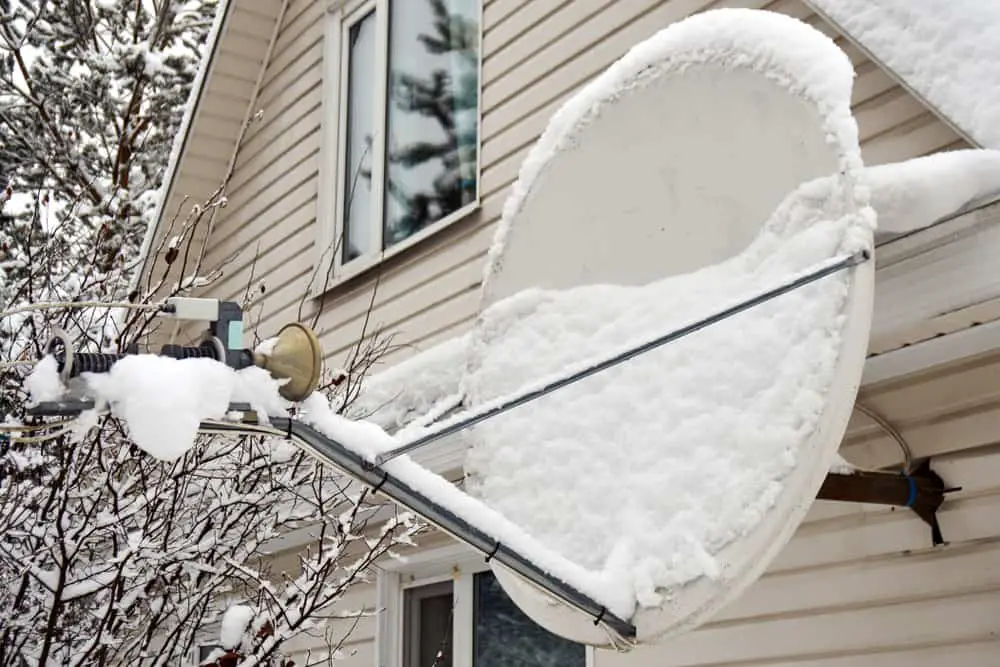
A satellite antenna dish covered in snow
Snow conditions are worse because they can form a layer above Dishy’s face. You might have to use its snow-melting feature to heat the white surface to thaw the ice/snow. Heating requires a lot of energy. So consumption will be high.
Network Activity
The Starlink Dishy is an antenna that transmits and receives data from satellites in Low Earth Orbit. And it requires more power to send than to receive. So if you have more devices connected to the WiFi router, the kit will draw more power because data uploads will increase. Therefore, activities like playing online games and taking video calls will increase energy use.

A gamer is playing an FPS video game online.
But since downloading (receiving) draws less power than uploading (transmitting), the kit will use fewer watts when streaming. Also, functions that upload minimal data, like sending emails, web browsing, and voice calls, require little power.
How To Monitor Starlink Power Consumption Using a Shelly Plug
The Shelly Plug features an embedded web server and broadcasts a WiFi signal for you to connect to it as an access point. This web server has an HTTP API with a web GUI to access the component’s features, including power consumption monitoring.
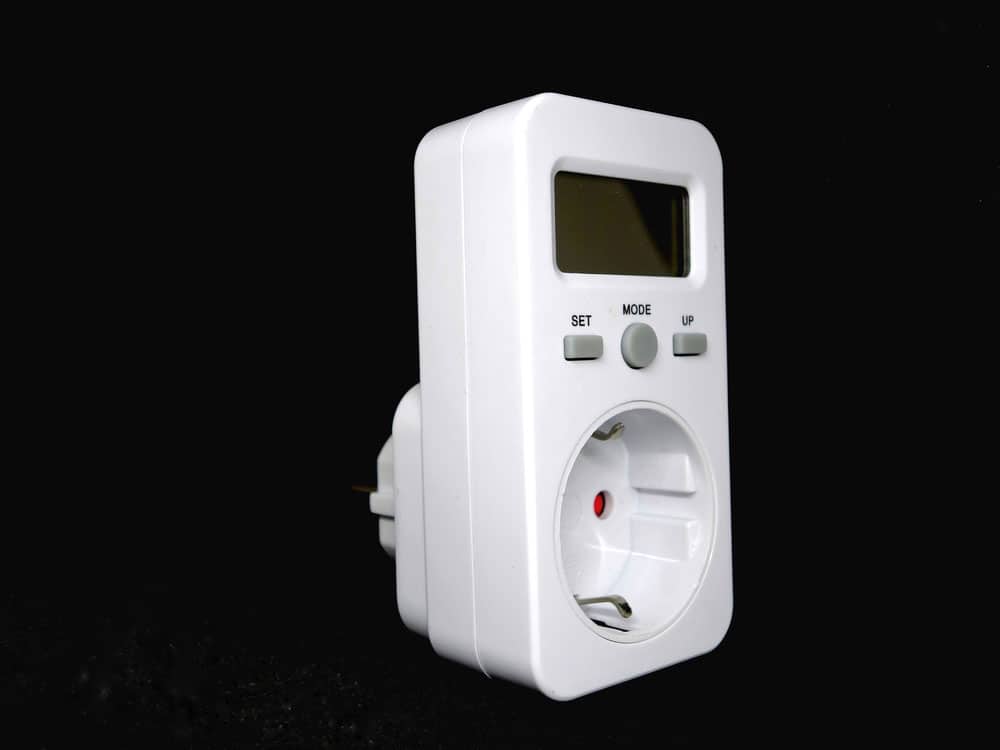
An ampere/kilowatt meter
Setting Up
- Plug in the Shelly Plug into a wall outlet, then plug the load into it. In this case, the power load will be the Starlink power brick, which supplies power to the dish and WiFi router.
- Turn on the plug by pressing the power button.
- After booting, the Shelly Plug will be in AP mode by default. Connect to its WiFi network using your phone or PC.
- Open the browser, type 192.168.33.1 on the address bar, then hit enter. The server’s web GUI should open, and an energy meter will show at the top.
Cloud Connection
You can connect the plug to the cloud and get the readings while connected to your home network or the internet anywhere. Use these steps to set up the cloud connection.
- Go to the “Internet & Security” menu on the web GUI to connect the plug to your WiFi network.
- Enter your WiFi network’s SSID (name) and password, then click the “save” button.
- Switch to the WiFi settings on your device, then connect to your home network
- Open the Shelly cloud application, and you should see the discovered devices. Click to open it, and you’ll see the Shelly plug with its ID.
It is possible to use the API to get the power consumption readings without connecting to the cloud. This process is complicated because it requires you to use Grafana and Prometheus.
Wrap Up
Although all Starlink kits consume more energy than cellular modem networks, newer versions are becoming more energy efficient. So the third Dishy version might be at par or draw fewer watts than the cellular competitors. We’ll just have to wait and see. That’s it for this article. Remember to leave a comment or contact us if you have any questions or need help setting up the power consumption monitoring system above. Cheers!