
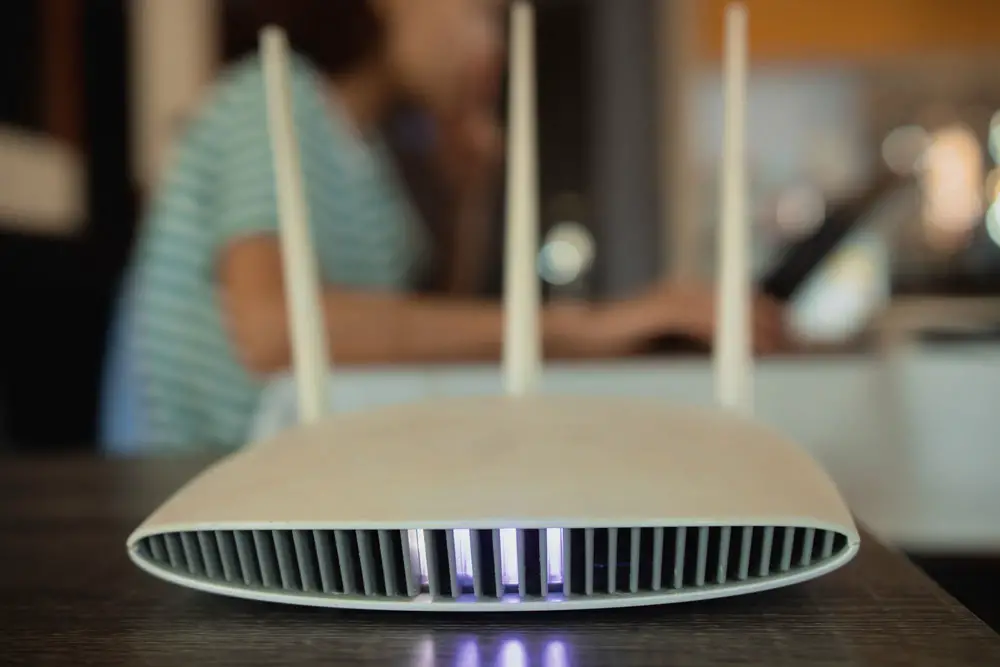
You might need a 3rd party router with Starlink to address the shortcomings of the Wi-Fi router included in the kit.
But you can’t just hook up the external router, especially with the second-gen Starlink kit, and expect it to play.
Plus, you need to consider some features before buying this third-party router.
Read on to learn more about everything you need to know before plugging in this separate router to your setup.
Table of Contents
- Why You Might Need a 3rd Party Router With Starlink
- Things To Consider When Buying a 3rd Party Router for Starlink
- How To Use a 3rd Party Router With Starlink
- Recommended 3rd Party Routers for Starlink
- Starlink Network Limitations When Using a Separate Router
- Wrap Up
Why You Might Need a 3rd Party Router With Starlink
These five scenarios might make you need an external router for your Starlink system.
- You have a large house and want additional range to eliminate dead zones
- To enable IPv6 (Starlink does not officially support IPv6)
- You want to create a guest network
- To connect more devices to the internet than the Starlink router can handle
- You need additional features like advanced firewall settings, DMZ, or port forwarding.
Things To Consider When Buying a 3rd Party Router for Starlink
Consider the following factors when shopping for an aftermarket router to hook up to your Starlink system.
- Pick an advanced router that is compatible with the Starlink internet plan (up to around 250-300 Mbps)
- The router should be able to connect and handle all your standalone devices (plus 4-5 guest devices)
- Look for technical features like Beamforming antennas, OFDMA support, and MU-MIMO.
- Consider parental control and app-support features for blocking, blocklisting, etc.
Starlink has official mesh nodes, and the Starlink router can handle up to 12 satellite units. But you can get a 3rd party mesh system to cover the Wi-Fi dead spots.
How To Use a 3rd Party Router With Starlink
Starlink has two dish kit generations that require different setup steps when connecting a third-party router.
First-Gen Round Dish Kit
The first-gen Starlink kit features a separate power adapter that supplies energy to the dish and router separately.
So you only need to unplug the first-party router from the system, then connect the dish cable to the third-party router.

The first-gen round Starlink dish
Starlink does not recommend plugging the aftermarket router into the included router’s Aux port to create a dual-LAN setup.
Second-Gen Rectangular Dish Kit
The second-gen Starlink came with two modifications that increase the steps required to add a third-party router.
First, it integrates the power supply with the router, meaning the dish draws its power from the Starlink router via an ethernet cable (power-over-ethernet).
So you cannot unplug the router from the setup.

The second-gen rectangular Starlink dish
Second, the router does not have an ethernet port. So to connect a third-party router, you must buy the Starlink ethernet adapter first.
Third-party ethernet adapters are incompatible with Starlink, so you can only use the company’s official adapter.
This hardware will sit between the router-dish connection, introducing a wired port for creating a wired connection to the separate router, Starlink mesh nodes, or third-party mesh network.
Next, you have to buy a wireless router or Wi-Fi mesh system. Starlink does not require a modem, so don’t buy a gateway (modem-router combo).
A modem-router combo device
With all these components in place, the next step is to bypass Starlink by activating the bypass mode on the Starlink router.
So after connecting the ethernet adapter and external router, go to the Starlink app on your smartphone and enable the bypass mode.
This bypass functionality switches off the Starlink router’s routing functions and wireless network, enabling the 3rd party router to handle all tasks.
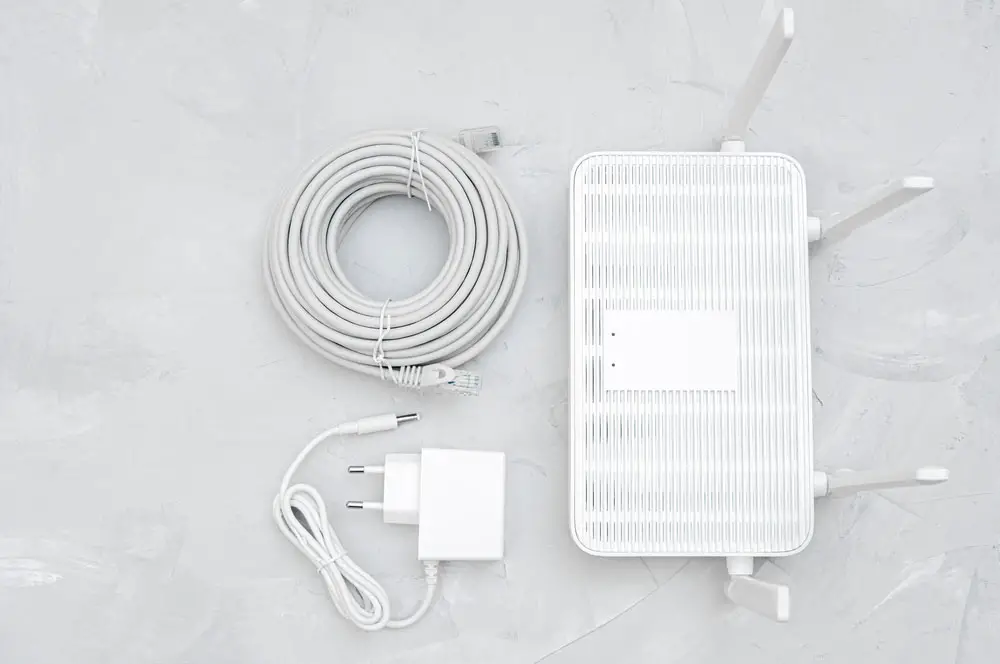
Recommended 3rd Party Routers for Starlink
If you are interested in getting a more powerful Wi-Fi router, consider these options.
Best Overall: TP-Link AX3000
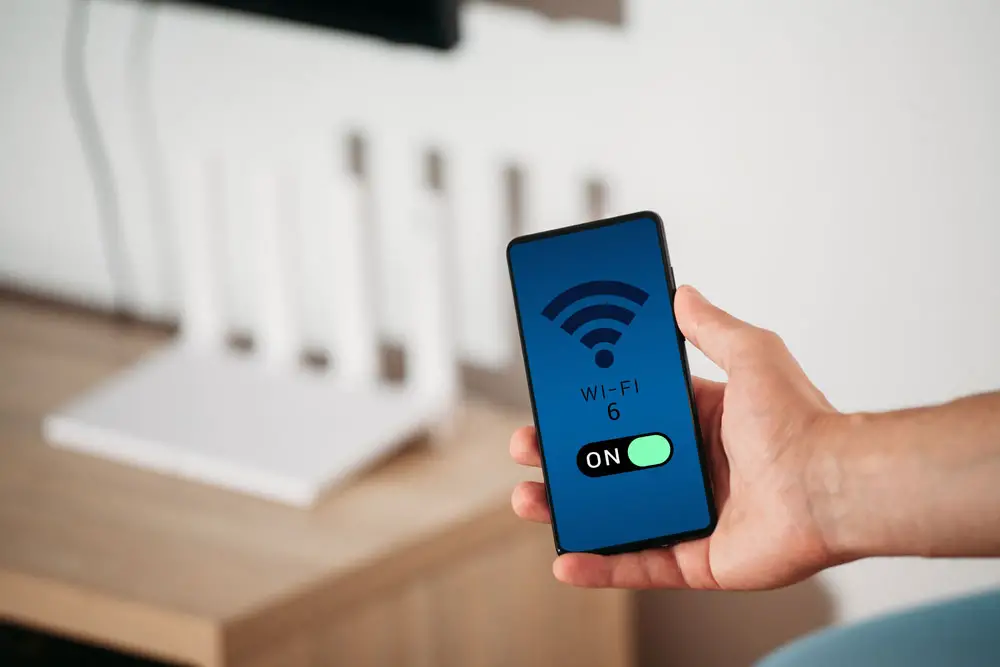
This Wi-Fi 6 router beats the Starlink router in every category, making it an ideal replacement.
With Wi-Fi 6, you can expect faster speeds with reduced lag and jitter, resulting in smooth video streaming, gaming, and live feeds even when run concurrently.
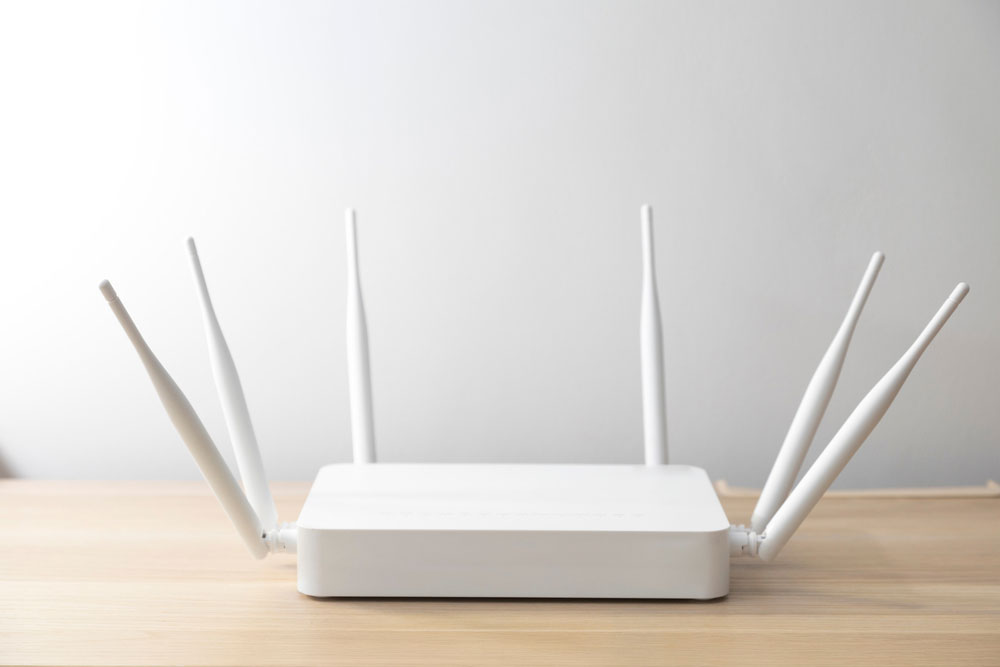
A Wi-Fi 6 router
Additionally, the device features OFDMA that strengthens the Wi-Fi signal, allowing one band to accommodate multiple clients, further cutting lag and jitter.
Another vital feature is the combination of four high-gain antennas with Beamforming technology, which gives a range of 1,600+ feet.
If that wasn’t enough, the router is compatible with Amazon Alexa, which enables remote control via voice commands.
Best for Gaming: ASUS ROG Rapture GT-AX11000
Although the TP-Link AX3000 is ideal for gaming, this router offers the best performance.
It features triple-level game acceleration for accelerating gaming traffic using game server, device, and game packet prioritization.
A Wi-Fi router with multiple antennas
The first level optimizes ROG devices by prioritizing their gaming packets.
Level two analyzes network traffic to prioritize all gaming packets, while level three uses a WTFast-powered Gamers Private Network to create an optimized private internet connection to game servers.
Also, it has a 1.8GHz quad-core CPU and a 2.5G gaming port to give the ultimate performance.
Best Wi-Fi Mesh Setup: Netgear Orbi RBK852
This third-party Wi-Fi mesh system consists of tri-band radios (one router and a single satellite device) that provide up to 5,000 feet of wireless coverage.
The two provide gigabit speeds and feature Wi-Fi 6 technology to deliver uninterrupted gaming, streaming, video conferencing, etc.
A Wi-Fi 6 router with smartphone app controls
With the Orbi app, you can configure Smart parental controls to promote healthy internet habits and safeguard your kids from harmful content.
Netgear Armor protects the network by introducing an automatic security shield on all connected devices, but this feature has a 30-day free trial period with monthly payments afterward.
Starlink Network Limitations When Using a Separate Router
Although using a 3rd-party router might give you better performance and a longer wireless access range, it has limitations.
For instance, you can’t view the Starlink satellite dish connection information, which you might need when troubleshooting errors.
So you’ll have to plug the Starlink router back in to view/sort these issues, then unplug/bypass it again.
Also, Starlink uses CGNAT (Carrier-Grade Network Address Translation) instead of giving every user a public IP address.
So the Starlink router creates a second NAT layer, making it a double NAT system.
If you connect the 3rd party router without enabling bypass mode, it forms a third layer.
But you’ll still have a double NAT after bypassing or unplugging the Starlink router.
For gamers, this setup might not create a noticeable performance lag on the network, but most players try to avoid it.

A professional gamer playing an FPS online video game
And with CGNAT, you can’t use traditional port forwarding or connect to the network from outside.
Another thing is that Starlink does not provide static addresses for the residential service.
Wrap Up
Whether you use a Starlink or external router, you’ll still have a double NAT.
But these 3rd party routers can give better wireless coverage & controls and connect more devices. So if you’re looking for these benefits, get the external device.
Otherwise, stick to the Starlink router. That’s it for this article.
Comment below to share your thoughts, sentiments, or experience when adding a 3rd party router to your Starlink setup.