
Starlink currently offers non-routable DHCP-issued CGNAT (Carrier Grade Network Address Translation) IPv4 addresses to its customers in the 100.64.0.0/10 range. On the other hand, Starlink Business provides publicly routable IPv4 addresses (DHCP). However, you only get a single IP with either option because of the address limitations. But does the satellite internet service support Starlink IPv6 to avail more public addresses? Let’s find out.
Table of Contents
- About Starlink Internet
- Starlink’s IP Challenges
- Why IPv6 Is Important
- Does Starlink Support IPv6?
- How To Setup IPv6 for Starlink
- Other Complex Setups
- Wrap Up
About Starlink Internet
Starlink was in the public beta testing program until October 2021, which was highly successful. Presently, the Starlink internet service is available to the public across select countries around the globe. Starlink has one primary advantage; availability in rural areas without broadband internet access.

Starlink satellites in space
Eventually, the service should cover the entire planet using about 42,000 satellites. The number of launched satellites currently stands at 3,300 as of December 2022, and they fly in Low Earth Orbit.
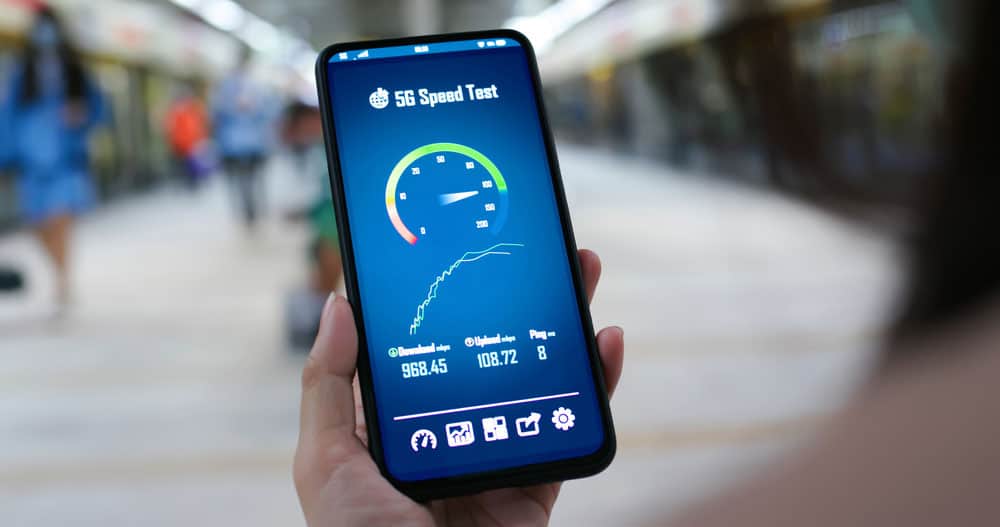
Ping
Starlink’s ping currently stands at around 30-50 ms, with the median time being 48 ms. This latency is similar to the ping from other DSL providers or slow cable internet connections. Cable and fiber internet have the shortest ping, making them the best for real-time VoIP and online gaming.
An internet speed test was done on the phone (note the ping section)
But Starlink is still in its infancy and has thousands more satellites to launch. So it will get better. And the service is ten times better than other satellite internet service providers, such as Viasat and HughesNet, which have a minimum latency of around 500 ms.
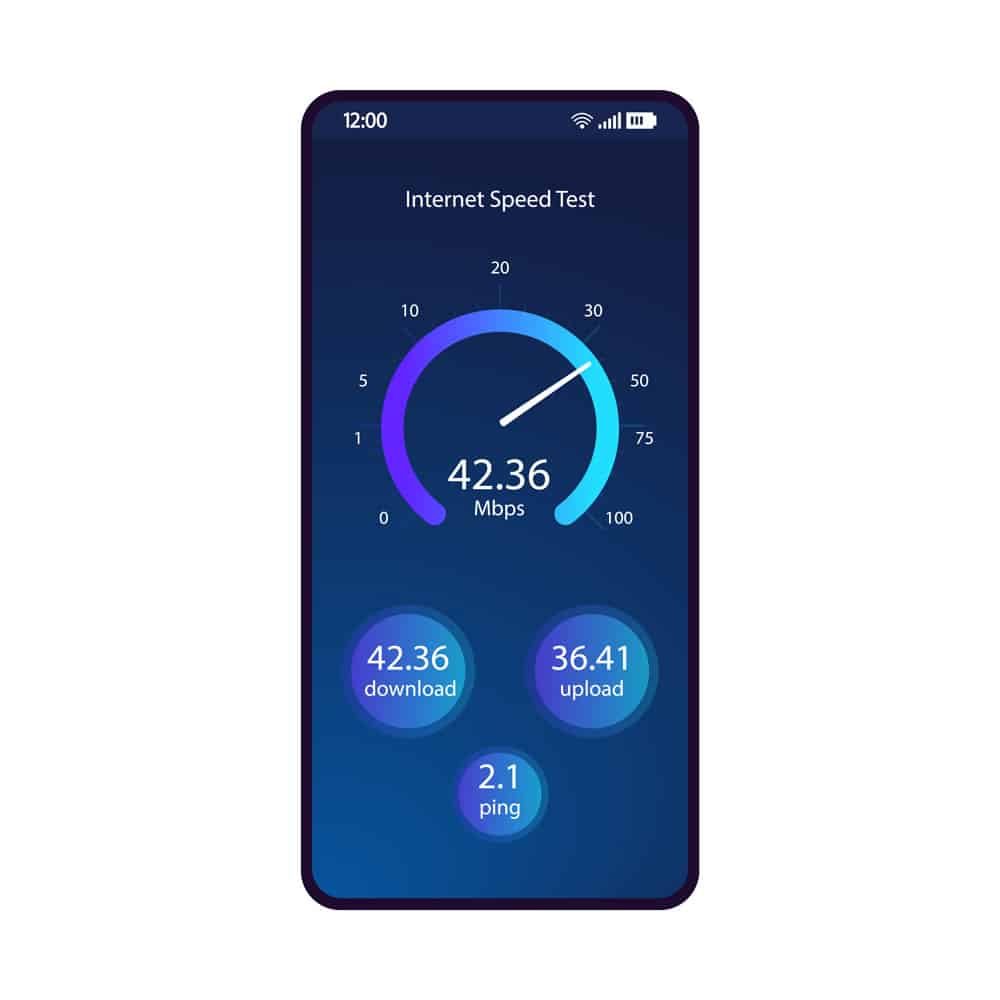
Upload and Download Speeds
The goal is to offer high-speed internet ranging from 50-500 Mbps. Currently, speed tests have shown the internet provider hits download speeds of about 80-150 Mbps and upload speeds of about 20-30 Mbps.
An internet speed test showing the upload and download speeds
These speeds are better than most DSL plans and satellite internet providers. And they will increase once more satellites go into Low Earth Orbit. Cable and Fiber are still better, but Starlink is catching up.
Starlink’s IP Challenges
Starlink is currently addressing the speed and ping challenges, but a vital issue remains; IP address. All internet providers must acquire IP addresses to offer their customers, which is becoming challenging because the world is running out of unique IPv4 addresses. The solution is to switch to IPv6 addresses.
Why IPv6 Is Important
The number of unique public addresses we can get from the IPv4 system is slightly over 4 billion, which is enormous. But consider the global population is at 8 billion. And some people have more than one intelligent device. So if you think about it, 4 billion addresses are not enough. We need a new addressing system.
IPv6 is the next generation of IP addresses because it introduces more space for connecting devices. IPv4 uses a 32-bit address space, but IPv6 uses 128 bits. So the number of unique IP addresses in this system is 340 trillion trillion trillion. Exhausting that number is almost impossible.
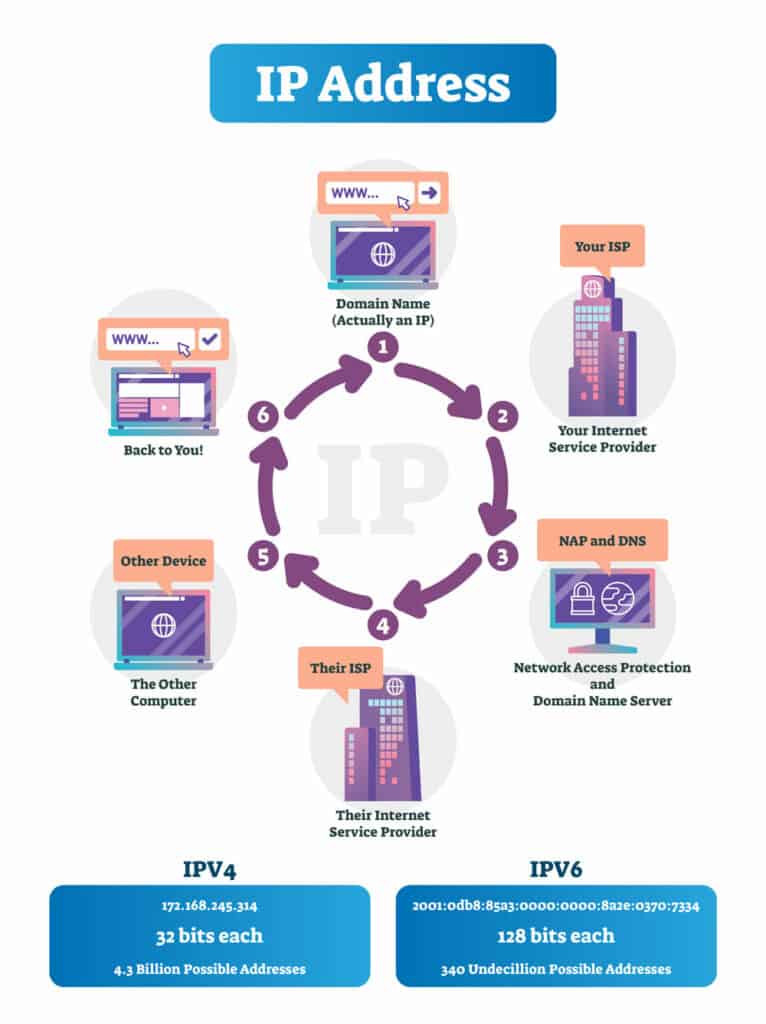
How IP addresses work (IPv4 vs. IPv6)
Theoretically, every smart device on the planet could have its publicly routable IP address with IPv6, eliminating the need for network address translation devices like routers.
Here’s a summary of what you can expect with IPv6.
- An exponential increase in public IP addresses
- Built-in security feature
- An end-to-end connection between smart devices
- Authentication and encryption
Does Starlink Support IPv6?
Starlink does not officially support 128-bit IPv6 addresses, but the company is rolling out public IPv6 in some areas. So some customers have access to IPv6 support with a /56 IPv6 prefix. However, the service can only work with third-party routers; the Starlink router does not support it.
How To Setup IPv6 for Starlink
If you are in an area covered by IPv6 access, you should get an IPv6-compatible router like Asus, Netgear, or Ubiquiti.
What You’ll Need
- IPv6-enabled third-party router
- Starlink router
- Ethernet adapter
- IPv6-compatible operating system (latest macOS and Windows versions are good)

The first-generation Starlink dish
Starlink IPv6 Setup
The first thing you need to do is configure your network to enable IPv6 mode access. Begin by accessing the Starlink router and enable bypass or bridge mode. This procedure should convert the device to a modem to allow you to connect it to a third-party router without messing up the network. Follow these steps to enable this mode on the router.
- Launch the Starlink app on your phone
- Tap the settings tab
- Search for the enable bypass mode option
- Tap to enable it
If you wish to revert to regular mode later, you’ll have to reset the router to its factory settings.
Previous Starlink hardware came with the dish and a separate router, making it easier to bypass the router. You would only have to disconnect the router, then link the dish directly to the third-party router.
But since new Starlink kits come with the router embedded in the dish’s power brick, you cannot eliminate it. So the steps laid out above are necessary to bypass it. And you must purchase the ethernet adapter to complete the setup.
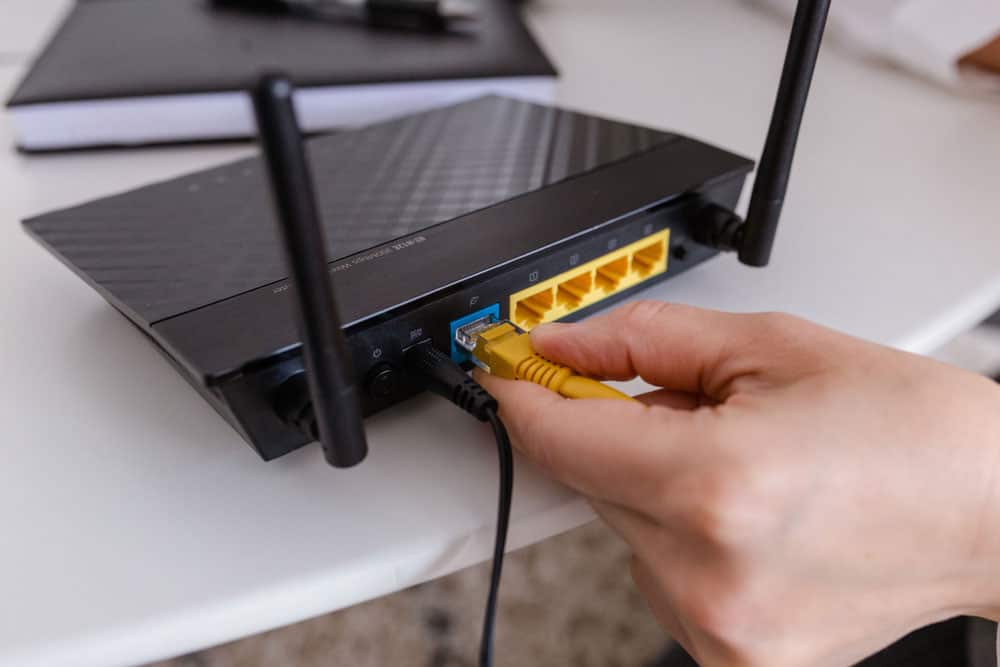
A person connecting an ethernet cable to a router socket
Starlink-Netgear IPv6 Configuration
Netgear makes it easy to create an IPv6 connection if not detected automatically. The router lets you specify you want to use IPv6, which enables the device to request that connection type with Starlink. Here’s how you make the configuration.
- Login to the Netgear router’s web interface
- Go to advanced settings
- Click Advanced setup
- Select the connection type offered by Starlink
It is possible to select between auto-detect, IPv6 tunnel, and auto-config.
Starlink-Ubiquiti IPv6 Configuration
Ubiquiti offers one of the best IPv6 configuration options, and it has some models that enable you to use an IPv6 address with the existing Starlink connection.
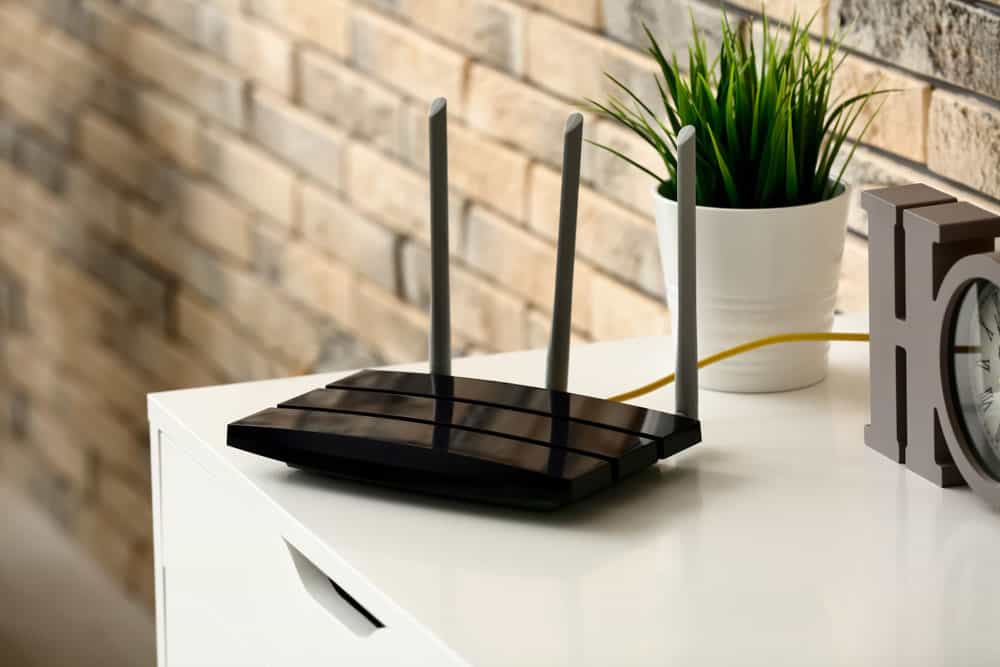
A third-party router
Like with Netgear, you need to go to the web interface, then follow these instructions to get it running.
- Login to the router via the web portal
- Go to settings, then click the Internet menu
- Go to the WAN network menu
- Select “Using DHCPv6” on the IPv6 connection type setting
- Type “56” as the size of the prefix delegation
It is possible to configure static IPv6 addresses in these Ubiquiti routers.
Starlink-Asus IPv6 Configuration
The ASUS web GUI is quite intuitive, and here’s how you set it up.
- Log in to the router web portal
- Go to advanced settings and select IPv6
- Make the connection type native
- Click “Apply” to save the settings

The second-generation Starlink dish
If you encounter any issues, contact Starlink or the router’s customer support to get further assistance.
Other Complex Setups
Starlink provides internet access by allocating a unique, non-routable CGNAT IPv4 address to your router. So it is impossible to access your router from the public network (WAN), and you cannot do port forwarding.
But you can use VyOS to configure and provide IPv4/IPv6 connectivity to a local LAN via a switch. Although the result enables you to access your devices from the WAN, it has some risks.
With IPV4, your devices will be safe behind Network Address Translation. But they’ll be open to the public with IPv6, making hacking easier. So consider configuring Firewall rules to enhance security.

A laptop with a firewall
Wrap Up
In conclusion, Starlink does not allow IPv6 traffic officially, but there is a way to enable it in IPv6-enabled areas. They are in what we’d call “beta” testing in these areas, and it works using specific third-party routers. So if you are lucky to be in these areas and want to switch to IPv6, buy the necessary hardware and follow the steps above. That’s it for this article. Drop a comment below to let us know if you found the article insightful or need help configuring your router.