
About Satellite Dish Pole Mount, You need a satellite dish pole mount if you’re considering satellite internet. This lets you mount a satellite dish without it having direct contact with your business or home.
However, there are many unanswered questions about satellite dish pole mounts. For instance, is it safe and reliable to mount your Starlink satellite dish on a pole? And if yes, how high should you mount the dish?
For answers to such questions and more, read on.
Table of Contents
- Can You Mount A Satellite Dish on A Pole?
- Mounting a Satellite Dish to A Pole
- Considerations While Mounting A Satellite Dish on A Pole
- Can You Mount Starlink on A Satellite Dish Pole?
- FAQ
- Conclusion
Can You Mount A Satellite Dish on A Pole?
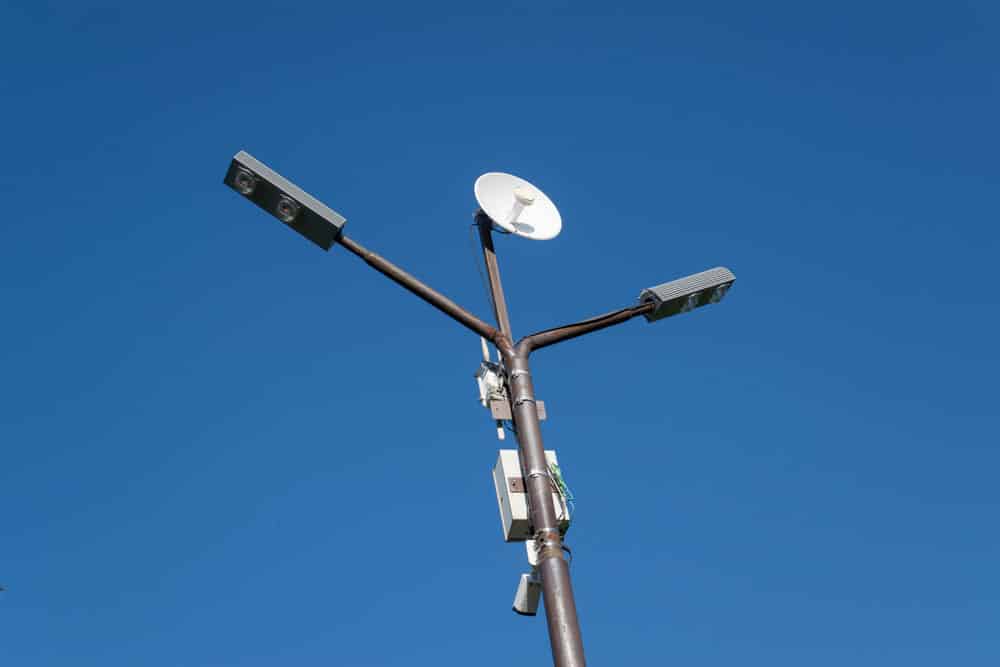
(Satellite dish on a pole)
Yes! You can comfortably mount your satellite dish on a pole. Mostly, we recommend a wooden or metallic pole. A pole will give you more flexibility for your satellite dish placement. This means you can easily adjust it to face your chosen direction.
Additionally, with a pole, you can place the dish anywhere within your compound. However, you should select locations with a clear line of sight to prevent signal loss.
Mounting a Satellite Dish to A Pole
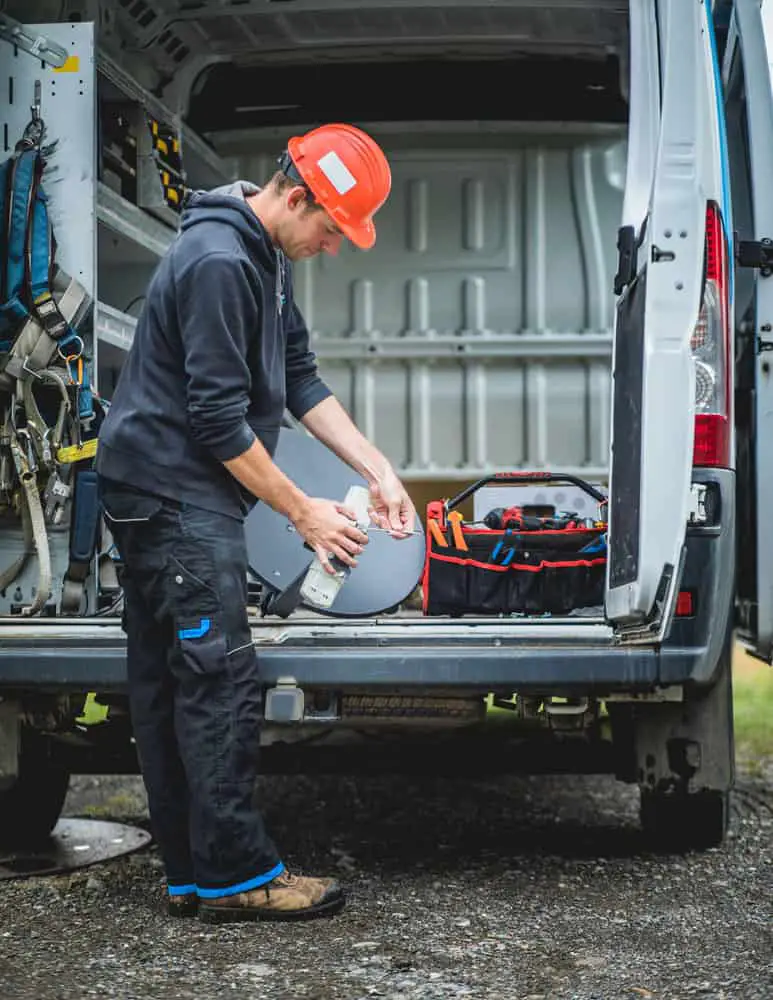
(Man preparing to mount a satellite dish)
Generally, many people prefer mounting their satellite dish on their houses. However, most of the time, it damages their roofs, leading to costly repairs. A good alternative is to mount the dish on a pole next to your house.
However, to be successful, you need the following:
- A hack saw
- A bucket
- Pole
- Shovel
- Screwdriver
- Quick-set cement
- Level
Follow these steps to mount your dish on a pole:
- First, you must dig a hole where you’ll put the pole. Here, you should prioritize a location with a clear line of sight to the satellite. Check the owner’s manual to determine your area’s line of sight. Alternatively, you can call your service provider’s support team to help you out. While digging, ensure the hole is 8 to 12 inches wide and 36 inches deep. For safety purposes, the area should not have utility lines such as power.
- Use your hacksaw to cut the end of the pole at 45 degrees. This should be the end you expect to place in the ground. Cutting it at 45 degrees ensures it doesn’t rotate in the concrete after some time.
- Put the cut end in the hole. Fill the hole with some dirt to keep the pole upright. Then, use a level to check for vertical and horizontal alignment.
- This is the time to mix quick-set cement. Follow the guidelines on the cement package to mix to the required level.
- Pour quick-set cement into the hole. Afterward, let the cement settle and dry.
- Finally, lift your dish onto the pole. The dish’s back has a clamp through which the pole fits comfortably. However, you’ll have to tighten the screws on the clamp. Afterward, follow your service provider’s guidelines to complete the remaining installation steps.
Considerations While Mounting A Satellite Dish on A Pole
You don’t just wake up and mount your satellite dish on a pole. It would be best if you put several considerations into perspective:
The Local Regulations
Some city codes and homeowners associations clearly outline where you can install a satellite dish. For instance, some restrict people from installing a dish in front of their house. Therefore, identify the right location to dig a hole for your satellite dish pole. If you stay in a rental unit, ask for your landlord’s permission before installing a satellite dish.
Location
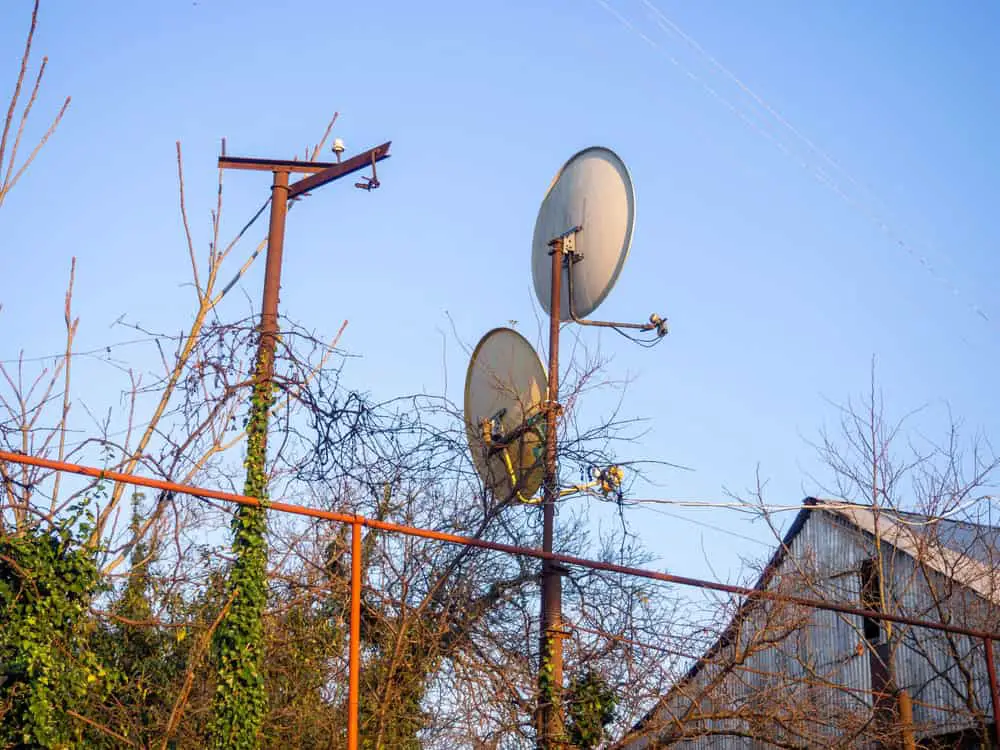
(Satellite dishes on a pole near a house)
No one prevents you from installing your satellite dish anywhere within your compound. However, the dish should face the southern sky for reliable satellite internet. Additionally, your preferred location should have no trees and buildings blocking the view.
Furthermore, avoid installing a satellite dish near utilities such as power or water lines. Doing so will introduce a safety hazard.
Your Installation Experience
Mounting a satellite dish on a pole will consume your time. Therefore, you should set aside at least 2 hours to complete the task.
Although the task might appear easy, you need the right skills to complete it. If you decide to do it yourself, following the instructions in the manual could help you a lot. However, if you lack the experience, contact a professional to help you.
The Right Equipment
Apart from a satellite dish, you’ll also need quick-set cement, a pole, and a screwdriver for a successful installation. Additionally, you should have a level, shovel, and hacksaw.
Can You Mount Starlink on A Satellite Dish Pole?
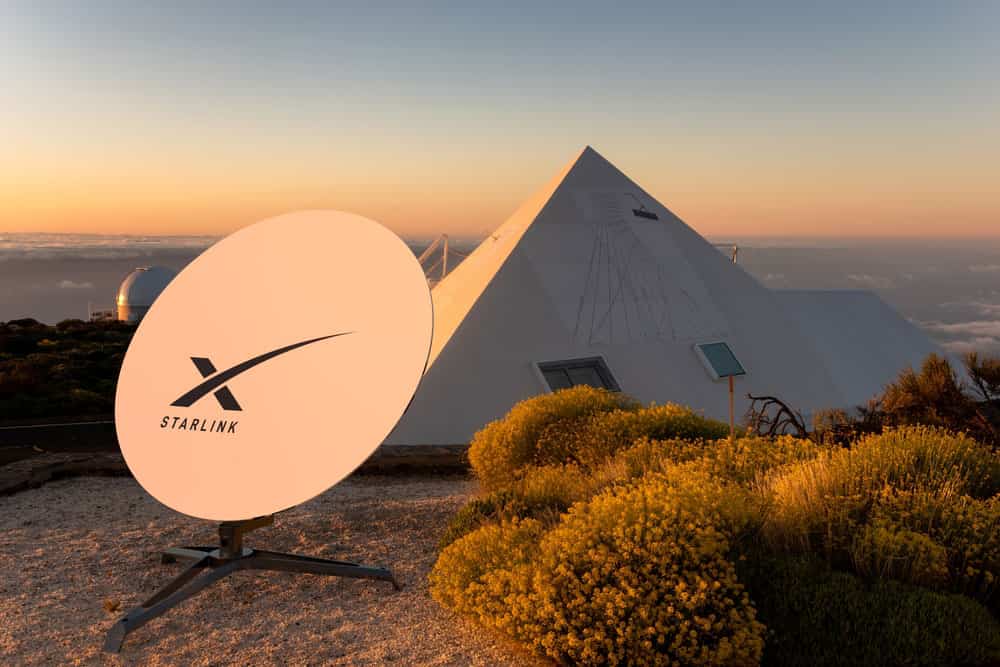
(Starlink Satellite)
Yes! You can mount Starlink on a satellite dish pole. However, you’ll need a Starlink pipe adapter.
Generally, mounting Starlink on a dish pole is better than mounting it on the house. In the case of a house, you’ll have to drill the roof or the walls, thus damaging your home. Also, it could introduce holes that can let in rainwater.
FAQ
How high should you mount your satellite dish pole?
You need a pole about 3 meters above the ground for effective signal reception. This will put the dish just slightly above the highest point of your house. For the best result, ensure the line of sight to the southern sky is clear.
What satellite is dish pole diameter good enough?
A pole with an outside diameter of 2 inches is good enough for your satellite dish. The higher the diameter, the better the results. A strong wind can easily break a weak pole.
Conclusion
In conclusion, you’re better off mounting your satellite dish on a pole than on your home. First, mounting on a pole eliminates the need to drill the walls or roof, thus reducing your home value. Additionally, drilling holes in your home can let rainwater in.
Therefore, ensure you acquire the right equipment and skills to complete the task. Alternatively, you can contact a professional to help you out.
Finally, ensure the dish has a clear line of sight to the southern sky.