
If you’re looking for a unique way to safely mount your Starlink satellite dish, look no further than our Starlink roof mount! You can use this robust and weather-resistant mount to install your Starlink easily on any roof. Furthermore, it’s affordable, reliable, and can help you make the best use of your Starlink system.
Table of Contents
- Starlink Roof Mount Options
- Will your metal roof affect Starlink?
- What mount does Starlink come with?
- How to place your Starlink dish
- How to mount a Starlink on your roof
- Starlink roof mounts cost.
- Conclusion
Starlink Roof Mount Options
The Starlink kit will come with a base, but it may not be a permanent solution. Therefore, you will need to choose the correct mounting for your dish, depending on factors like roof angle, obstructions, and your budget.
- Starlink volcano roof mount: This type of mounting is a great option when installing your Starlink on a flat roof. It comes with everything you will need to install it. Some of the best Starlink mounting options include:
- Starlink ridgeline mount: This is a non-penetrating type of roof mount. It uses anchor panels that rest flat against the roof if you have a ridge vent. It also comes with a waterproof rubber mat to provide extra grip on the top to resist force from the wind.
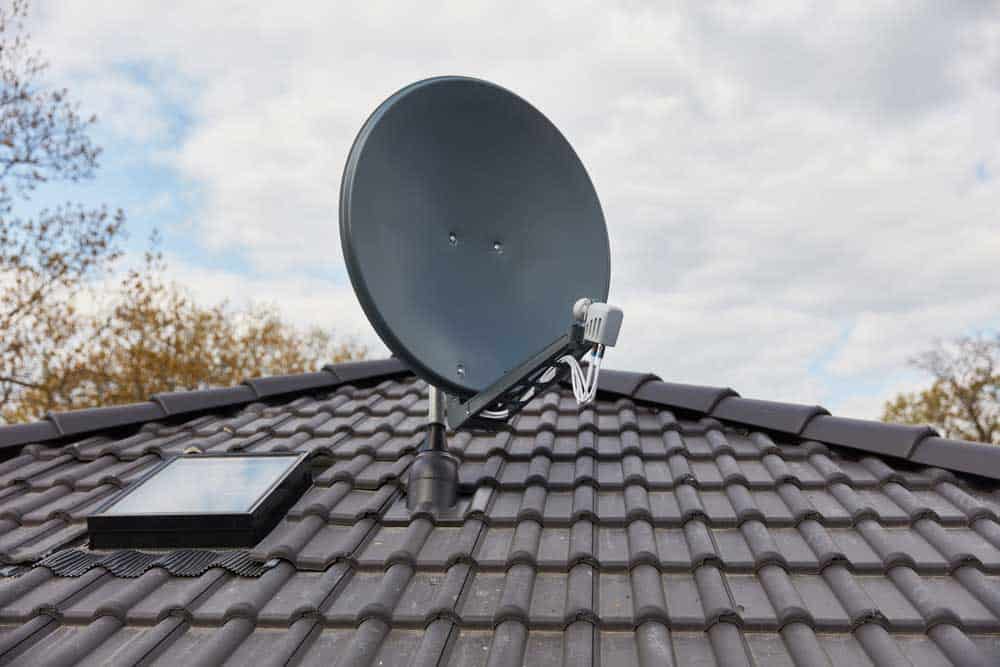
Satellite internet receiver was installed on the roof
Will your metal roof affect Starlink?
No, it doesn’t affect the wireless internet. However, just like any other roofing material, your metal roof may block your signal if you try to aim through it. Therefore, you should consider mounting your Starlink on the rooftop where there is a clear view of the sky and not beneath it.
What mount does Starlink come with?
Your Starlink kit will have a base for a quick ground-level setup to test your connection. However, you need a clear sky view to connect with the network. For this reason, you may need a more permanent mount that you can install outside and above the ground. Depending on where you want to mount your dish, you can order a volcanic mountain, flashing mount, or ground pole mount from the Starlink shop.
How to place your Starlink dish
If you intend to use the Starlink satellite internet, you are worried about where to place your dish and which direction it should face. It would help if you mounted your Starlink satellite right first, so you never need to worry about it.

Skilled technician installing satellite receiver
Which direction should your Starlink dish face?
Although the direction you should face your Starlink dish will depend on where you’re located, it will almost always face upwards. This should be between 15 and 35 degrees and angled to the north. You can also download the Starlink app obstruction tool. With this tool, you can determine the direction with a clear sky view and get a good Starlink signal.
How to optimally position your Starlink satellite dish
The Starlink satellite network is more sensitive than other satellite communication networks as it needs an unobstructed view of the sky. For this reason, the ideal place to position your dish is at the peak of your roof.
Can the dish move and align itself?
Your Starlink satellite dish will move by itself using its electric motors when aligning itself. This will mostly happen the first few times after booting, and your word will automatically move itself to find the best orientation. However, once your dish is locked to the satellite, it won’t need to realign itself regularly.
Is there a need to aim or move your dish after installation?
After installing your Starlink satellite dish, you won’t have to aim or readjust it to connect to Starlink’s satellites. However, if new buildings or trees obstruct the view of your dish, you may have to change its location. You can use Starlink’s app to identify a more suitable location if this happens.
How to mount a Starlink on your roof
Before you can start mounting your Starlink satellite dish, use the obstruction finder tool on the Starlink app to search for potential obstructions, and ensure that you can see a clear view of the sky. Inclement weather can affect the satellite internet connection and lead to slower speeds.

Man using mobile phone
Use these steps to mount your Starlink permanently on a roof:
Make a wiring plan
Your Starlink satellite dish comes with 100 feet of cable attached to it. Run the line a short distance on the outside across the shingles and then loop it down through the attic.
Drill in the volcano mount
Drill a pilot hole outside your roof and mount the volcano over it. Proceed to drill the other six pilot holes and use the sealing patches to ensure that each pilot hole is completely covered. Remember to tighten the bolts until you see the sealant squishing from underneath the volcano mount.
Mount and secure your Starlink
Set in the Starlink into the volcano mount and clip into place. Remember to stretch the cord to prevent it from getting tangled.
Route your cable along the fascia
Route the cable along the fascia and drill a small hole to fish the line into the attic. Once wholly felt in the thread, put a cover on the spot to make it watertight.
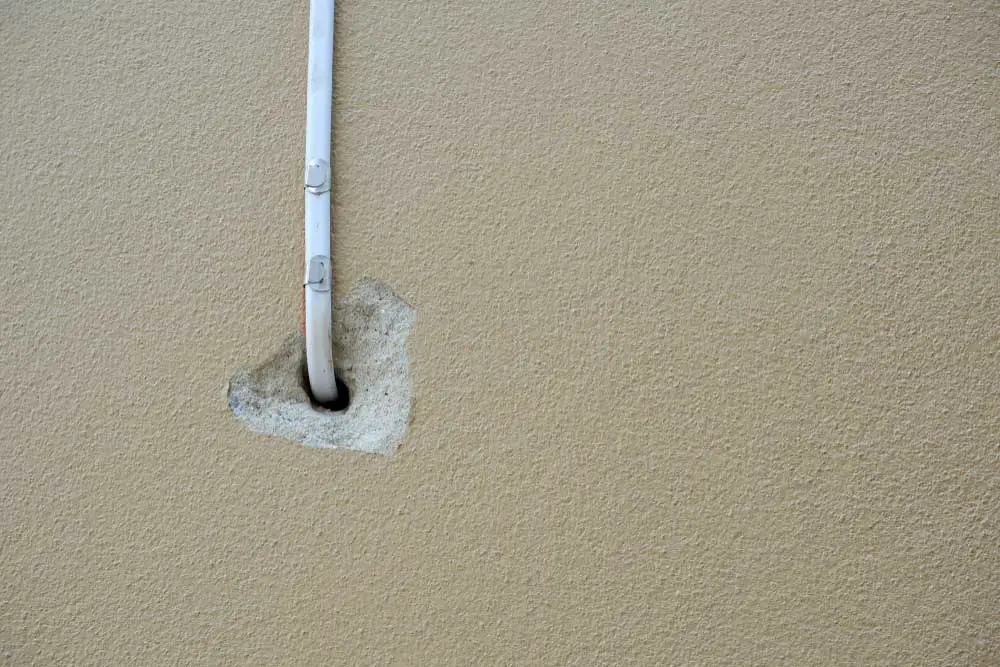
Wire running through an exterior wall
Complete routing your cable inside
Identify a central spot in your house where you can set up your Wi-Fi router. It would also be good to position it high up on a shelf.
Finalize the installation
Power up everything and use your outlet tester to confirm everything is working. However, remember that your dish can move on its own when aligning to the nearest Starlink satellite. Therefore, give it some time to adjust to an optimal position.
Conduct a speed test
Open the Starlink app and press the speed icon. This should only take you approximately two minutes. After you’ve finalized the speed test, you will see the current upload and download speed.
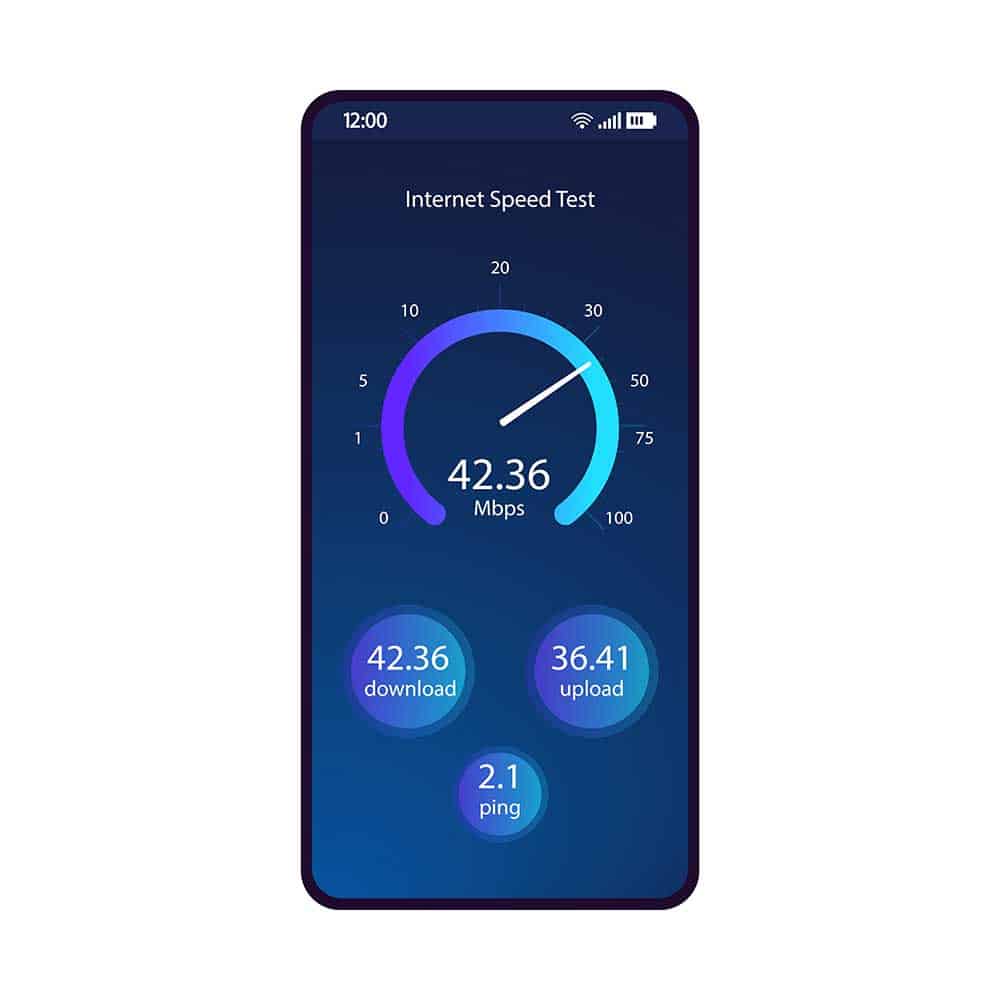
Mobile phone internet speed test
Starlink roof mounts cost.
Many variables can affect the cost of mounting your Starlink satellite dish on the roof. This may include the type of roofing material and the number of stories. However, the average cost of mounting a Starlink dish on a standard single-story metal roof is approximately $550.
Conclusion
Because of its high internet speeds and low latency, Starlink enables streaming and other high data rate activities that you may not have previously done with satellite internet. Moreover, you can take your Starlink with your RV road trips.
Apart from the numerous benefits of owning a Starlink, the dish is also easy to mount. Starlink has an app that makes it easier to determine the right place to position and scale your container. However, depending on where you want to mount yours, you may need a Starlink volcano roof mount or a Starlink ridgeline mount.