
Understanding how to install antenna on roof is a sure way of enhancing TV reception by facilitating high-quality pictures and many channels.
But first, you should identify a reliable weather-resistant antenna that supports your television and location.
Moreover, it would be best if you gathered the relevant installation equipment and tools, including a coaxial cable, wire cutter, and mounting brackets.
You can complete the installation, scan the channels, and enjoy your favorite local program.
Today’s article goes in-depth to discuss the steps involved in antenna installation on the roof and the relevant best installation practices. Let’s get rolling!
Table of Contents
- Tools You Need To Install Antenna on Your Roof
- Steps To Installing Antenna on Roof
- Benefits of Installing Antenna on A Roof
- Antenna Installation Best Practice
- FAQs
- Final Remarks
Tools You Need To Install Antenna on Your Roof
Installing an antenna on a roof is relatively straightforward, but you won’t achieve it without the right tools. This section highlights the tools necessary for antenna installation:
- An antenna with a reliable signal reception
- A long-enough and high-quality coaxial cable to connect the TV to the antenna
- Mounting brackets to hold the antenna in place
- Screwdrivers and wrench to tighten screws and anchors
- Safety gear like gloves and glasses for personal safety
- An efficient power drill to create holes in the mounting surface
Steps To Installing Antenna on Roof
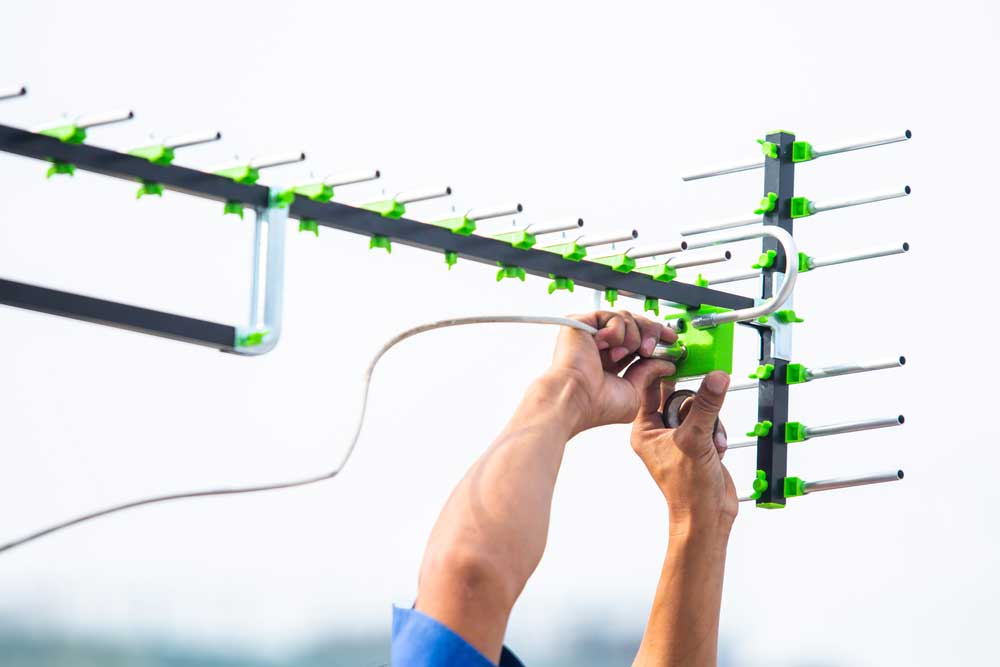
(A man installing a digital antenna)
You will find the antenna installation process easy if you follow the below steps.
Research Your Reception
Now that you know you are installing an outdoor antenna on the roof, the next step involves researching your reception.
This involves researching the reception and channels you receive in your area.
We have several websites where you can input your address and get relevant coverage in your area.
Moreover, you can talk to your neighbors with outdoor antennas to find out the channels they can access.
Buy Cables and Assemble Tools
Try buying a high-quality coaxial cable for your installation tasks (probably satellite-grade cables) as much as possible.
Such a cable maintains a high-quality even when you share the antenna reception on several televisions.
Moreover, you will need some specific tools and equipment to acquire beforehand.
Some of these tools include a ladder, a drill bit, a hammer drill, and an ordinary drill.
Furthermore, you will need a splitter (if you plan to split the signal between different TVs), cable ties, a mount, and screws.
Get everything you need in order before starting the installation process; if you don’t have installation skills, find an expert to help you.
Test Reception
Climb on your roof using a ladder, and before you do anything, test for reception.
The best device for measuring the signal quality/strength is the TV meter/DVB-T spectrum analyzer.
Remember to have someone down to search for channels to determine the signal quality.
And when choosing the location to position your antenna, ensure it is far from cables carrying power or signals.
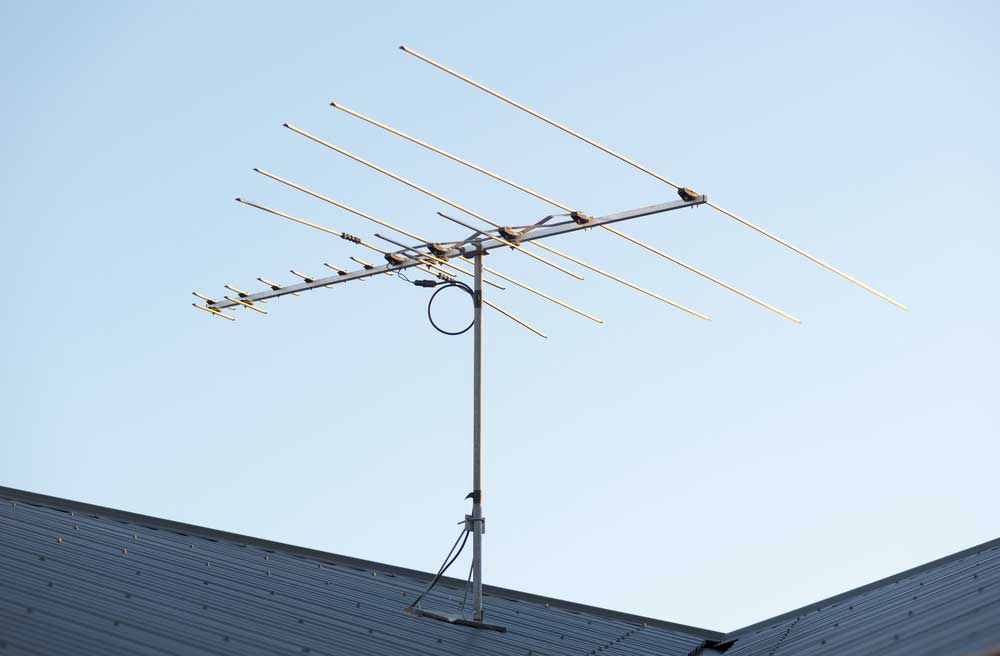
Mount Your Antenna Away from Metals

(Antennas on top of a house)
Always mount your antenna away from metals to avoid signal interference.
For example, if you have solar panels on your roof, install some distance away from it to prevent the antenna from casting a shadow on it, thus lowering solar efficiency.
Moreover, since solar inverters radiate RF signals, installing your antenna closer will impact the reception.
And if your house has a tin roof, consider installing the antenna on a chimney or tripod and not directly on the roof.
Install A Signal Booster
Even after installing your antenna, you might experience a weak signal thanks to the distance from the transmitter, long coaxial cable, or the presence of a splitter.
In such a case, installing an antenna amplifier or signal booster will improve the signal strength and quality.
However, only use an amplifier when necessary since improper use might amplify noise, thus affecting the overall performance.
Benefits of Installing Antenna on A Roof
(A digital antenna over a building)
Cost-Effective
Immediately after installing your antenna on the roof, you will access the over-the-air channels for free.
Therefore, you won’t have to pay for the costly satellite/cable subscription, thus saving money in the long term.
Improved Sound and Picture Quality
Installing an antenna on your roof means a clear line of sight with the transmitters.
Therefore, the antenna won’t face any obstruction from buildings or trees, a common problem with indoor antennas.
As such, your television will display high-quality videos, brilliant colors, and superior audio.
Expanded Channels
Generally, most satellite or cable service providers don’t offer local channels.
However, installing an antenna on the roof will provide local channels, thus enabling you to watch community events, weather updates, and local news without an extra cost.
Funny, you might find good channels unavailable in satellite/cable subscriptions.
4K and HD Compatibility
Local channels always broadcast in HD (High-definition) and 4K resolutions. And since all antennas broadcast local channels, you will enjoy high-quality displays free of charge.
Multiple TV Connections
Using a distribution amplifier or splitters, you can connect several televisions to your antennas.
This means you can have one television in your living room and others in different bedrooms but still enjoy free-to-air content from a single antenna.
Antenna Installation Best Practice
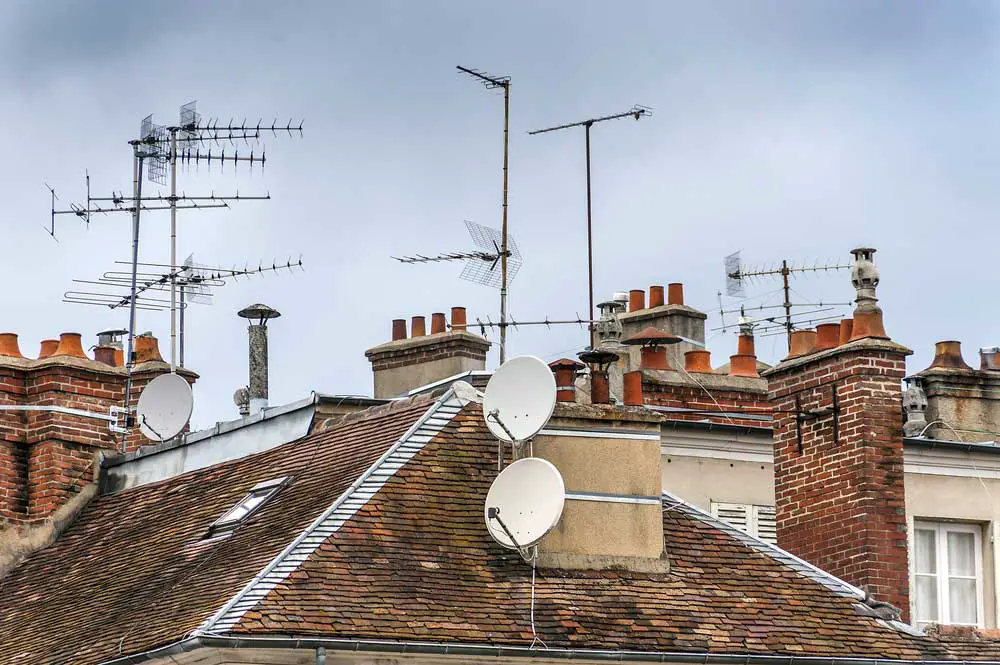
(Home antennas on a roof)
The first thing you should do is to choose a perfect location with a clear line of sight to the transmitter.
Therefore, the location should be free from obstructions like tall structures, buildings, and trees.
Additionally, mount your antenna using a sturdy mounting bracket to provide enough stability.
Check the manufacturer’s guide on how to ground the antenna for safety protection and to avoid lightning strikes.
And for the case of an outdoor antenna, secure your coaxial cable with weatherproof cable clips and connectors.
Furthermore, inspecting the antenna for damage or corrosion signs and making relevant adjustments is always good practice.
To ensure you access up-to-date channels, rescan the channels periodically to avail new channels.
Lastly, anytime you find the installation process complex, don’t hesitate to call a reliable electrician.
FAQs
Does an outdoor antenna have to be on the roof?
No! Besides installing an outdoor antenna on the roof, there are other areas that you can still make installation to get a reliable reception.
For example, you can comfortably make installations on the walls, balcony, or tall pole if you position it in the transmitter’s direction.
Generally, where you install the antenna depends on the surrounding buildings, terrain, outdoor antenna type, and your desired signal strength.
Where should you place your antenna?
There is no limitation to where you can place your antenna. You have the freedom to install it either indoors or outdoors.
And in the outdoor environment, you can have it on your roof, over the balcony, and the walls.
What is more important is installing the antenna in an area with a clear line of sight to the transmitter.
Can you install your antenna in the attic?
Yes! You can comfortably install an antenna in the attic and still get high-quality videos and audio on your television.
The main benefit of installing the antenna there is that it won’t be affected by harsh weather conditions like heavy rain.
However, the attic is not the best of places since the signal might weaken thanks to the roof and wall material obstruction.
Final Remarks
Now you know that your roof is multipurpose and, besides covering your home, can also hold an antenna for receiving over-the-air channels.
Fortunately, installing antennas on the roof is cost-effective, improves video/audio quality, offers expanded channels, and allows multiple TV connections.
Moreover, the antennas are 4K and HD compatible, allowing you to view high-quality content.
