
Like many other devices, an antenna can stop working, and it’s good to know how to replace a car’s radio antenna.
The good news is that you don’t have to be an auto electrician to successfully replace your car’s radio antenna.
With the right tools and some patience, you can make it a DIY project.
Here’s a breakdown of all you need to know about replacing a car radio antenna.
It includes the tools you need and a step-by-step guide on how to do it.
Table of Contents
- How Do You Know Your Car Antenna Is Bad?
- Is Replacing a Car Antenna Only an Auto Electrician’s Job?
- Tools Required When Replacing Car Radio Antenna
- How to Install New Car Radio Antenna: Car Radio Antenna Replacement Steps
- FAQs
- Conclusion
How Do You Know Your Car Antenna Is Bad?
First, it will not receive both AM (amplitude modulation) and FM (frequency modulation) broadcasting signals well, especially AM.
See, AM is the weakest signal. Therefore, if your antenna is bad, it will be the first signal it loses.
You’ll notice poor signal reception even close to the transmission tower.
Is Replacing a Car Antenna Only an Auto Electrician’s Job?
While this might surprise you, replacing a car antenna is not only an auto electrician’s job. It’s quite straightforward as long as you have all the right tools.
Just follow all the steps we outline below, and you’re assured of a successful replacement.
Tools Required When Replacing Car Radio Antenna
The following are the primary tools required for replacing your car’s radio antenna:
- Screwdriver: See, you’ll likely need to tighten and remove some screws, and for this, you need a screwdriver.
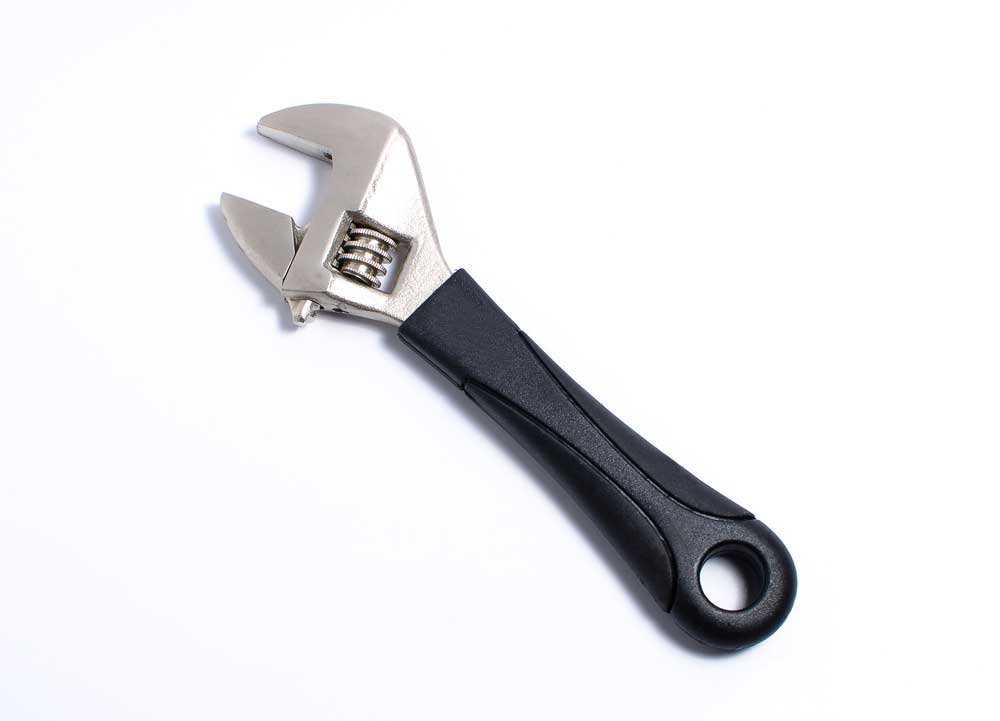
- Wrench: With this tool, you can remove or loosen antenna bolts, nuts, and mast. But not all kinds of wrench will do. Specifically, it would be best if you had a universal antenna wrench. It has six different sizes, depending on your antenna type and size.
(Caption: Universal adjustable wrench)
- Electric tape: This tape will help you insulate the installed wires, preventing any possibility of causing electric shocks.
- Crescent wrench: In addition to the universal antenna wrench, you need this one because it’s adjustable for a tight jaw fit.
(Caption: Crescent wrench)
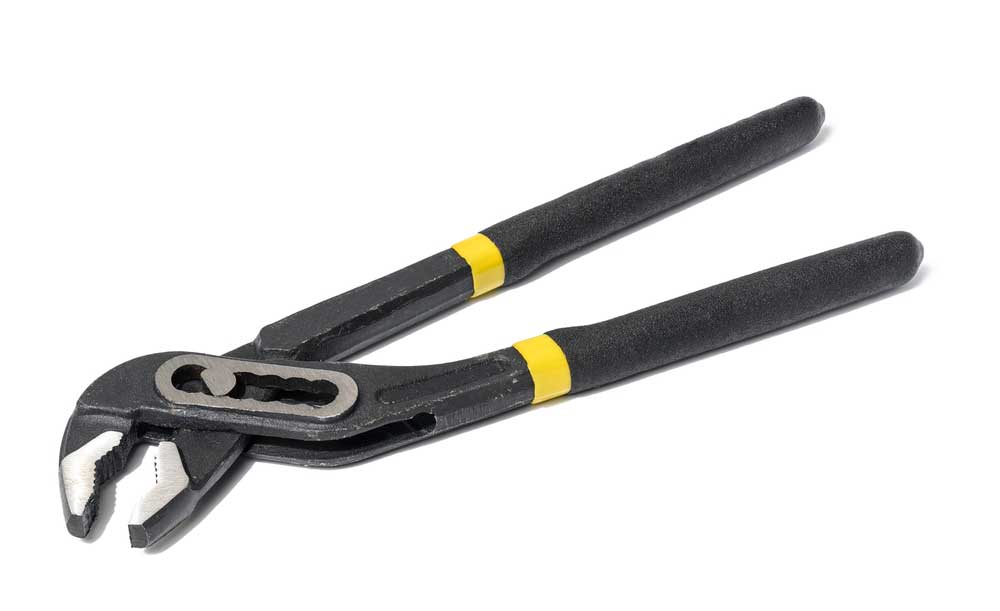
- Pliers: An interesting, fun fact about this tool is that it borrows its idea from metal tongs used to grip hot metal. With pliers, you can have a firm grip on the materials you’re working with. Also, you can bend and compress them when necessary.
- Clean cloth: Undoubtedly, you may need to wipe off dust or dirt, and a piece of cloth will do. Just ensure it’s clean.
How to Install New Car Radio Antenna: Car Radio Antenna Replacement Steps
1. Identify the Type of Antenna
It goes without saying that identifying the type of antenna your car has is the first step and a crucial one.
The most common antenna types are internal, external, and satellite. And each of these has different wire specifications.
So, for example, while installing most satellite antennae in any car is possible, some may not work.
Then, external antennae have better signal reception than internal antennae. But they’re susceptible to weather damage and breakage.
Also, you want to know if your antenna is a pillar mount that slides in an out of the top part of the door. Or if it’s the fixed mast type, usually mounted on the fender.
2. Unplug Coaxial Cable
Next, locate the cable from the radio dock to the antenna on your car’s roof.
To do this, check the back of the radio dock behind the dashboard and check if there’s any extension cable on your unit.
Then remove the cable from the back of the radio. Just ensure you have turned off the vehicle and disconnected the battery.
Doing that, help prevent any electric shock to other electric components in your car.
3. Take Off Rubber Grommet
To remove the rubber grommet, you must first gain access to the seal. First, clean the areas around the car’s antenna using a cloth.
Then, carefully lift the rubber ring from around the tip of the antenna. To do this, you can use a flathead screwdriver if the antenna is on an external surface.
Next, cut the grommet using a sharp object like a razor. But ensure you don’t cut the wires protected by the seal.
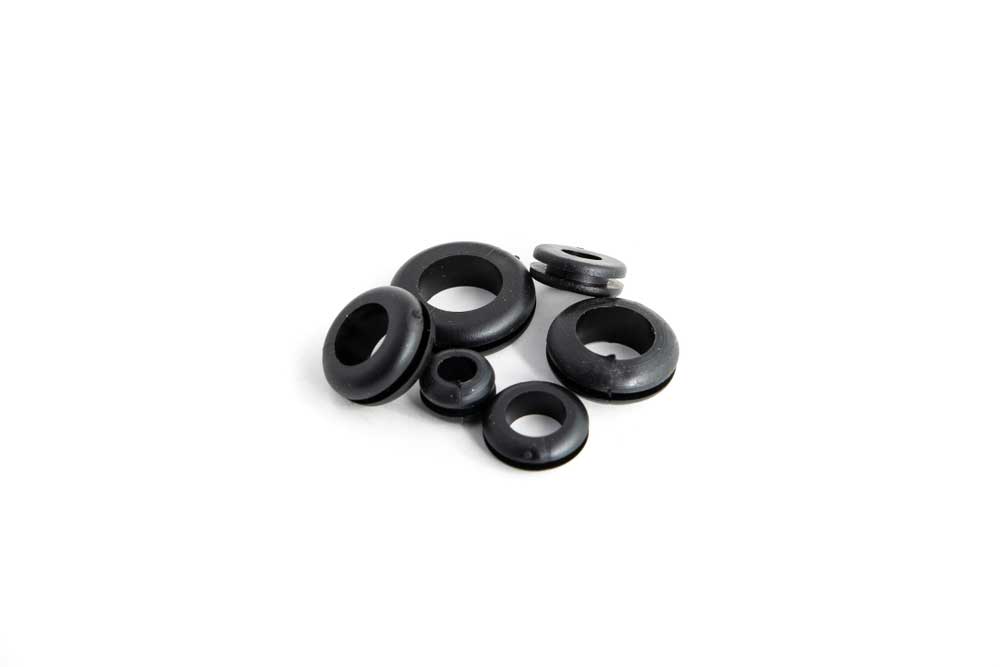
(Caption: Rubber grommet)
4. Undo the Antenna Screws
Now, using a screwdriver, unscrew the antenna screws. Usually, it’s under the passenger side of the car at the front.
Also, ensure you keep the screws and nuts safe, as you will need them again to install the new antenna.
5. Undo the Socket
Now here’s an instance where you get to use the crescent wrench. It will help release the frame that holds the antenna.
Also, hold the antenna from the outside when loosening the socket.
6. Remove the Broken Radio Antenna
Now, this step can differ depending on the car. For example, for some, you’ll pull down the antenna sharply but carefully.
And in some cars, there’s a connector that you’ll rotate and pull apart or depress and lift.
7. Install the New Antenna
First, you’ll attach the wiring to the new antenna. Also, reinstall any nuts or bolts, brackets, or plastic trim you removed when removing the old antenna.
Finally, replace the antenna and tighten the bolts and nuts to ensure a secure connection.
Next, connect the radio dock and antenna using a coaxial cable. To do this, strip off the shield on the cable.
Then wrap the inner wire of the antenna and the cable connecting to the radio dock. After that, solder the two using a soldering gun.
8. Tape the Connection
After that, tape the connection. Just ensure you separate the cable wires from those of the antenna to prevent a short circuit.
While one layer of electronic tape is sufficient, add a heat sink around the connection and then wrap it again using tape.
If you want, you can enhance the firmness of the connection by adding a zip tie around the ends of the tape.
Then, install the grommet back to prevent dust, dirt, or moisture from getting in.
9. Test the Signal
Now, turn on the radio to check for a clear signal. Also, you can use an ohmmeter to test the signal.
Simply connect one piece of the meter to the top of the antenna and the other to the radio pin.
A less than 5 ohms reading indicates your antenna’s set for signal reception.
FAQs
What Causes an Antenna to Stop Working?
There are several reasons an antenna might stop working. The most obvious is the usual wear and tear all items eventually develop.
Another reason is damage due to harsh weather conditions and high temperatures akin to cars.
How Do I Make My Radio Antenna Stronger?
First, you can pull the antenna up, although only if it has an extendable mast. Alternatively, you can use a longer antenna.
Also, you want to inspect the antenna connections for looseness or corrosion. Further, you could install an antenna amplifier (signal booster).
How Do You Test a Car Antenna?
One way to test a car antenna is to conduct a manual test. So you’ll play all the channels to determine if they have a clear signal.
Alternatively, you can use an ohmmeter. Remember, you want to see a reading of 5 ohms and below.
Conclusion
So now you know exactly how to replace cars’ radio antenna. After all, it’s a job just about anyone can accomplish.
After confirming the antenna is bad, gather all the tools required for the job. Then follow the steps outlined above, and you can’t go wrong.
