
The Starlink kit includes all you require for a Starlink installation, including a base mount. It works well but is small and restrictive regarding where to install it. Therefore, you may have to consider alternative mounting solutions depending on where, how, and the angle you must position your dish mast. Below are 11 Starlink mounting options, the Starlink’s base mount’s dimensions, and tips for optimal positioning.
Table of Contents
- Why Different Mounting Options Are Important
- What Mounts Work With Starlink?
- J-Mount – Flexible Option
- Pole Mount – For Open Areas
- Tripod Mount – Permanent or Temporary Installations
- Pole Mount – For Open Areas
- Tripod Mount – Permanent or Temporary Installations
- Chimney Mount – For Extending Height of an Existing Structure
- The Starlink Base (Base Mount) – For Temporary Installations, Flat Roofs, and More
- Additional Starlink Mounting Options (Pivot Mount, Ladder Mount)
- Where Are Your Obstructions?
- Starlink Mount Dimensions
- Optimal Starlink Mounting Position
- Conclusion
Why Different Mounting Options Are Important
Different circumstances call for other Starlinkmount options, depending on where you intend to place your dish.
Using Starlink internet requires connecting the dish with the SpaceX satellites. And for a good connection that will ensure fast download and upload speeds, you need a clear sky view. To achieve that, you must mount the dish.
Now where you decide to install will determine the angle and height you position your dish mast to get the most transparent view of the sky possible. For example, you may place it on the roof, chimney, or other high wall or structure. Or, for one reason or another, the top may not be an option for you, and you have to seek an alternative solution. Thankfully, all this is possible thanks to the different mounting options available.
What Mounts Work With Starlink?
Assuming you’ve tested for obstructions and settled on an ideal location, it’s time to select a suitable mount. The following are mounts that work well with Starlink:
J-Mount – Flexible Option
The J-Mount is versatile and widely available. It has a broad base that allows multiple mounting options.
To use the J-Mount with a Starlink, you need one like the Winegard DS2000A, whose piping has a diameter of about 15 inches. Then, you’ll slide the Starlink dish pole into the J-Mount, although you may need to wrap some duct tape around the dish pole to ensure no wigging.
Some J-Mounts require some modification before using them. If that’s the case, you want to use a mount adapter to enable you to connect the mount to the dish.
The J-Mount is ideal for mounting onto a roof, fascia, exterior wall, or shingled roof. However, J-Mounts are only 2 to 4 feet tall, so If there are obstructions around you and you need to mount it much higher than the roof, it may not be a good fit.
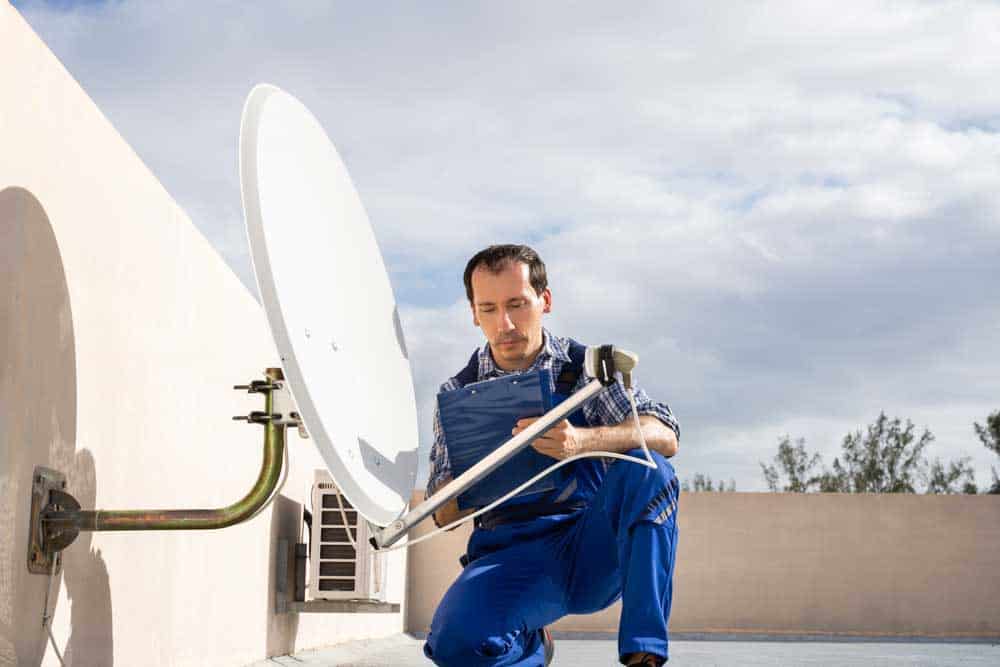
TV Satellite Dish Roof Installation on a J-Mount
Pole Mount – For Open Areas
As the name suggests, the Pole Mount involves mounting your dish on a pole or post. Starlink stocks pole mounts as one of its accessories.
If you’re a DIY person, you have an alternative to the Starlink pole mount. Find a pole with a thickness of 1.5 to 2.5 inches. And to anchor the dish onto the bar, you’ll need U-bolts or a pipe adapter. The latter is also available at a Starlink shop, and it’s usable with a pole measuring up to 2.5 inches in diameter.
A Pole Mount is ideal if you have an open area with no obstructions and prefer not to mount your dish on your roof or structures. However, it may not be a good fit where trees or other obstacles are nearby.
Tripod Mount – Permanent or Temporary Installations
You can use the Tripod Mount on flat surfaces as a temporary or permanent mounting solution.
If you want a temporary but stable enough mounting solution, put it in the ground. And for a permanent installation, secure it on a flat roof or surface.
Most Tripod Mounts require some modification to work with the Starlink dish. For example, you’ll need to drill some holes for the bolts or use pole clamps.
Tripod mounts are ideal for flat surfaces and offer the option of mounting temporarily or permanently. However, they may not be a good fit for temporary use if you live in a windy area.
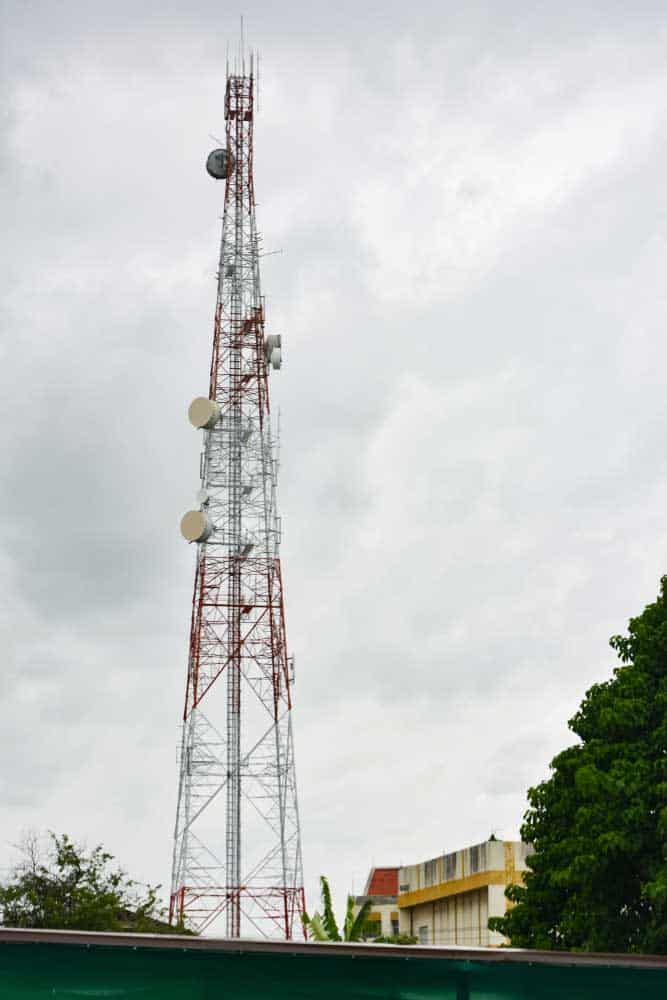
A Tower Mount
Pole Mount – For Open Areas
As the name suggests, the Pole Mount involves mounting your dish on a pole or post. Starlink stocks pole mounts as one of its accessories.
If you’re a DIY person, you have an alternative to the Starlink pole mount. Find a pole with a thickness of 1.5 to 2.5 inches. And to anchor the dish onto the bar, you’ll need U-bolts or a pipe adapter. The latter is also available at a Starlink shop, and it’s usable with a bar measuring up to 2.5 inches in diameter.
A Pole Mount is ideal if you have an open area with no obstructions and prefer not to mount your dish on your roof or structures. However, it may not be a good fit where trees or other obstacles are nearby.
Tripod Mount – Permanent or Temporary Installations
You can use the Tripod Mount on flat surfaces as a temporary or permanent mounting solution.
If you want a temporary but stable enough mounting solution, put it in the ground. And for a permanent installation, secure it on a flat roof or surface.
Most Tripod Mounts require some modification to work with the Starlink dish. For example, you’ll need to drill some holes for the bolts or use pole clamps.
Tripod mounts are ideal for flat surfaces and offer the option of mounting temporarily or permanently. However, they may not be a good fit for temporary use if you live in a windy area.
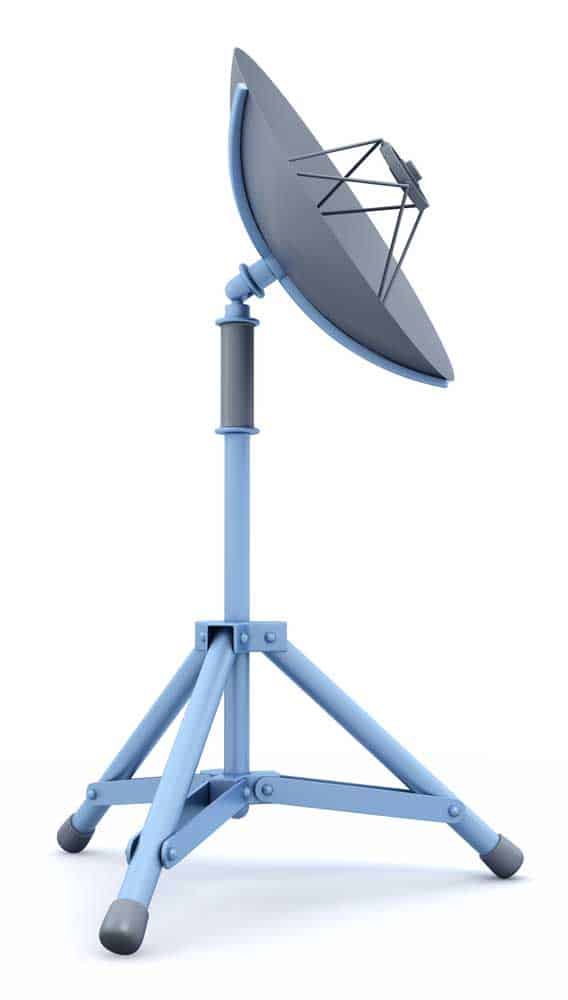
TV Satellite dish mounted on a Tripod Mount.
Chimney Mount – For Extending Height of an Existing Structure
It’s not uncommon to find that the highest point of your roof is insufficient, and you need to extend beyond. In such cases, a Chimney Mount presents an excellent solution.
Chimney Mount kits contain 12-foot steel straps, U-bolts, and all other necessary hardware to enable you to attach a pole to the chimney securely. So all you need to do is fasten the straps tightly around the chimney, then attach the bar.
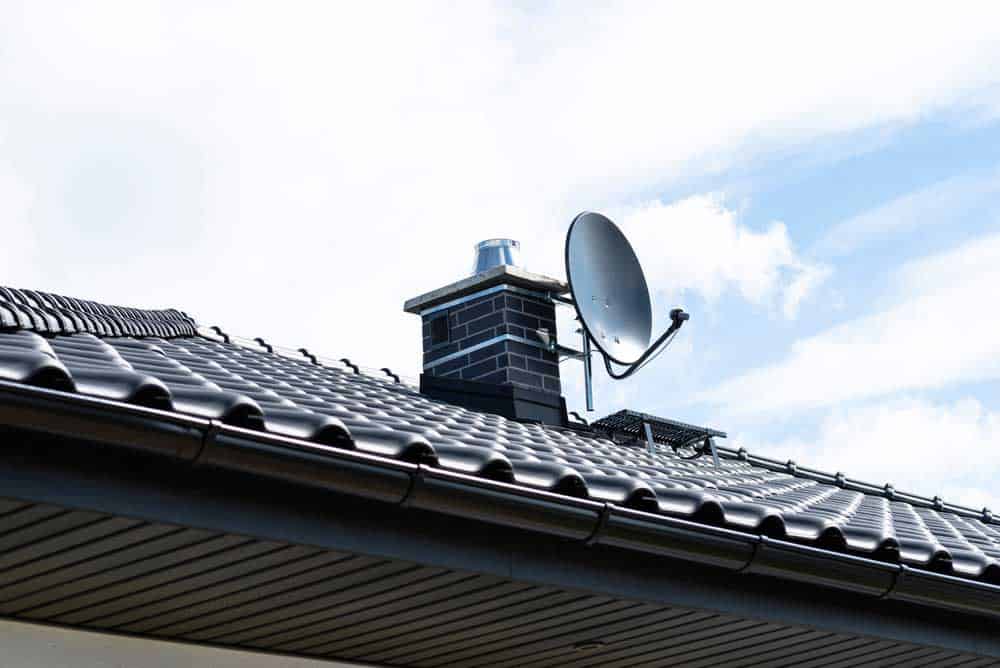
TV Satellite dish on a Chimney Mount
The Chimney Mount is ideal when your roof is not high enough for a clear sky view. However, it may not be a good fit if your chimney type requires a more complex and cumbersome installation or, worse, is incompatible with the mount.
The Starlink Base (Base Mount) – For Temporary Installations, Flat Roofs, and More
The Starlink kit contains all you need for connection, including a short, four-legged base mount. That means you must place the dish on the base mount, download the Starlink app, and plug your ethernet adapter into the router.
Base mounts have legs predrilled for securing on a flat surface, such as a roof or other structure free of obstructions. However, this mount is small, and you can only install it on flat surfaces. It’s no wonder many don’t use it as a permanent solution.
The Starlink Base is ideal for ground-level installation, flat roofs with no obstruction, or use as a temporary mount while you’re testing for a signal. But it may not be a good fit for roofs that slope downwards or areas with trees or buildings obstructing a clear sky view.
Additional Starlink Mounting Options (Pivot Mount, Ladder Mount)
Other mounting options include:
- Starlink Pivot Mount: This Starlink mount works best on shingled roofs. However, it’s unsuitable for roofing made of tile, clay, or slate
- Ladder Mount: These offer temporary or permanent installation options. They’re built primarily for RV use.
Satellite dishes are mounted on Ladder Mounts.
Where Are Your Obstructions?
Before starting any installation, you should first consider where your obstructions are.
Obstructions are anything blocking a clear view of the sky toward the direction of the satellite. Often, it’s trees and buildings but can include walls, scaffolding, and utility poles; basically, anything coming between the dish’s antenna and the satellite.
Starlink Mount Dimensions
The Starlink kit includes a four-legged base mount that measures 22 by 12.88 inches between the legs and 4.75 inches high. The distance between the mounting holes is 21.5 by 12.25 inches. These Starlink mount dimensions ensure the mount can accommodate the new rectangular and the original Starlink circular dish with a bigger mast diameter of 23 inches.
The mounting holes measure 0.26 inches in diameter and 0.60 inches in height. These holes can accommodate very well quarter-inch or M6 screws or bolts.
In addition, the kit contains a mast whose opening measures 1.35 inches in diameter.
Optimal Starlink Mounting Position
For some satellite communication services, a line of sight to the satellites is sufficient for connection. But the Starlink is much more sensitive, requiring you to place the dish where there’s an unobstructed view of the sky.
The best way to achieve such placement is to position the connector on the roof, preferably on the chimney or roof peak. That’s because this position is likely the highest point available. It’s your optimal mounting position.
Note that the more obstructions there are around you, the higher you must place the dish. If necessary, you may need to do some modifications to extend the height or install a tower mount.
It’s best to use the Starlink app to check for potential obstructions before installing your mount.
Conclusion
The Starlink dish is mountable on several structures in different ways. The abovementioned Starlink mounting options are excellent solutions, all available and compatible with Starlink’s new rectangular plate. However, if your preferred mounting solution doesn’t work, you can attach an AdapterPole mount to enable installation on different structures. But whichever mounting option you choose, rest assured you’ll enjoy high-speed internet from one of the best Satellite internet service providers.