
If you’ve ever heard of Starlink cable, you know it can be a great way to get high-speed internet access in rural areas. But what exactly is Starlink Cable? And how can you fix a damaged cable? In this blog post, we’ll cover the basics of Starlink Cable, the different types available, and how to repair any damages. Let’s dive in!
Table of Contents
- Types of Starlink Cables
- Lengths of Starlink Cables
- How to Repair a Damaged Starlink Cable
- Tool List
- Step One: Unplug the cable and the router
- Step Two: Assess the Harm to Identify the Issue
- Step Three: Cut Away the Ruined Section of the Cable
- Step Four: Unwrap the cable and peel away its protective layers
- Step Five: Carefully untangle the four wire pairs and then remove the insulation for each
- Step Six: Establish a proper plug-end connection by organizing the wires accordingly
- Step Seven: Slide the wires carefully into the plug end
- Step Eight: Using a crimping tool, firmly affix the plug end
- Step Nine: Mirror the Process on the Opposite Half of the Cable
- Step Ten: Bring the two ends together with a Cat 6 Coupler
- Step Eleven: Establish a Ground Connection
- Summary
Types of Starlink Cables
The Starlink cable is a CAT5e variant. It boasts four pairs of twisted wires and eight separate conductors, enabling seamless Power Over Ethernet (PoE) data transmission. The manufacturer designed the connectors on either end for unrivaled connection quality for this purpose alone. When combined with PoE technology, you guarantee a reliable internet service.
Lengths of Starlink Cables
Standard Residential and RV
It has a 75-foot cable or approximately 23 meters. If you wish to extend the distance, you can buy a 150-foot substitute from the Starlink store. Nevertheless, it is impossible to join two cables together for increased length.
High Performance and Business
The Business Starlink and High-Performance cable routing kit includes an 82 ft . cable, but they don’t come with an extension or a replacement cable.
Flat High Performance and Maritime
The cable that comes with the flat, high-performance dish is 26.2 feet (8 meters). Currently, there is no option to extend the cable, and it doesn’t come with an extra cable.
Original Circular Satellite Dish
The original Starlink dish is round, and its original cable is 100 feet long. Because this device uses standard connectors, you can buy aftermarket cable extensions with a coupler. Unfortunately, Starlink doesn’t offer any additional dish cable lengths for this dish.
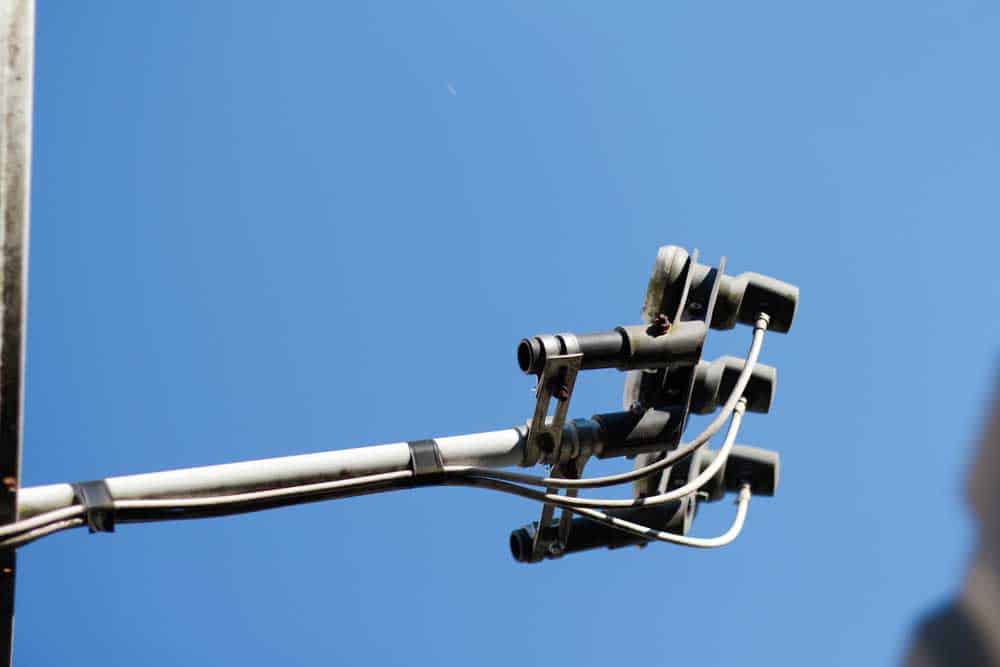
Satellite dish cable
How to Repair a Damaged Starlink Cable
Tool List
- Cat 6 couplers
- Wire cutter
- Crimper
- Stripper for wires
- Cat 6 jack ends
- Outdoor enclosure
- Wire nuts

Wire nuts
Step One: Unplug the cable and the router
Before handling the cable, ensure it is safe to do so. Unhook your Starlink router and detach the cable from there. Then, inspect the 75-foot connector cable for a few moments to determine if they are causing the issue. After that, you can move things around without worrying because no electricity will flow through, making contact safe.
Step Two: Assess the Harm to Identify the Issue
Carefully inspect the whole length of the cable for any indication of wear or damage, not just from animals chewing on it or rubbing against it. Also, look out for any parts that may have been bent or crushed. That can also harm the wires inside without piercing or tearing the exterior layer.
Step Three: Cut Away the Ruined Section of the Cable
You can make quick work of a ruined Starlink cable with wire cutters. When rejoining the two parts, leave sufficient slack so that the repaired length is still functional. Yet, remember not to trim too close to any visible damage as it may have extended further along than what meets your eye!
Step Four: Unwrap the cable and peel away its protective layers
Carefully remove 1 inch of the outer coating from both ends of the cut cable. Underneath, you will see four sets of twisted wires, plastic shielding, light blue foil, and a bare metal wire for grounding.
Peel or tear off shields without causing damage to any internal cables and take out all components, ensuring that none of the twisted pairs of wire or grounding wires are broken.
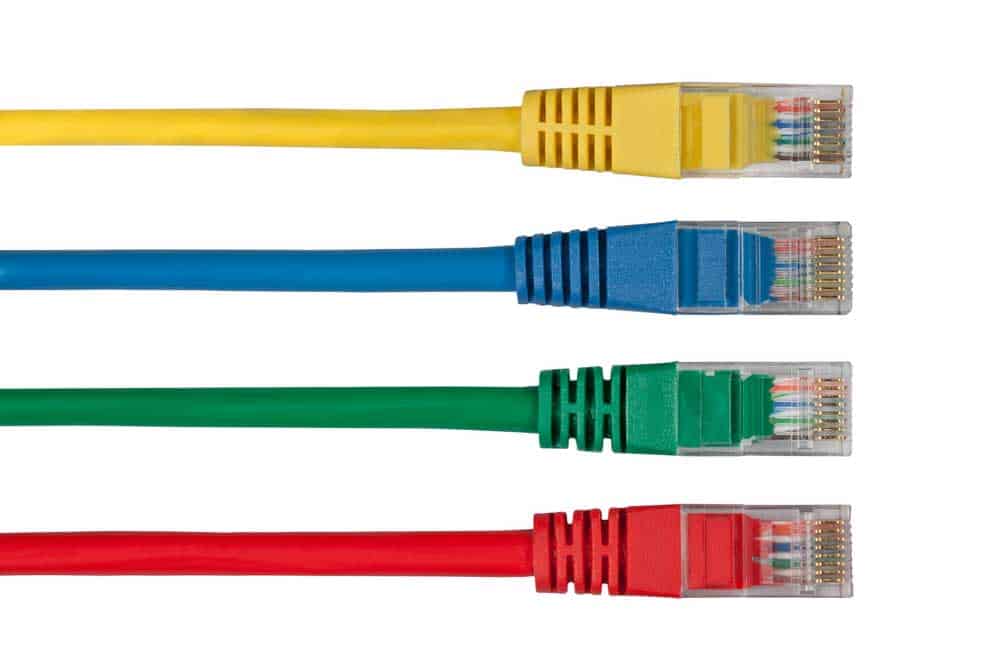
Multi Colored Network Cables
Step Five: Carefully untangle the four wire pairs and then remove the insulation for each
Take your time to carefully untwist and straighten the four sets of wires in the cable. Make sure everything is correctly connected before you move on.
First, use a wire stripper to remove 1/4 inch of insulation from each pair of wires, except for the ground wire.
Step Six: Establish a proper plug-end connection by organizing the wires accordingly
For the Cat6A cable plug end, ensure that the T568B wiring scheme organizes the stripped internal wires. Please don’t make any connections to the ground wire; only connect it at both ends.
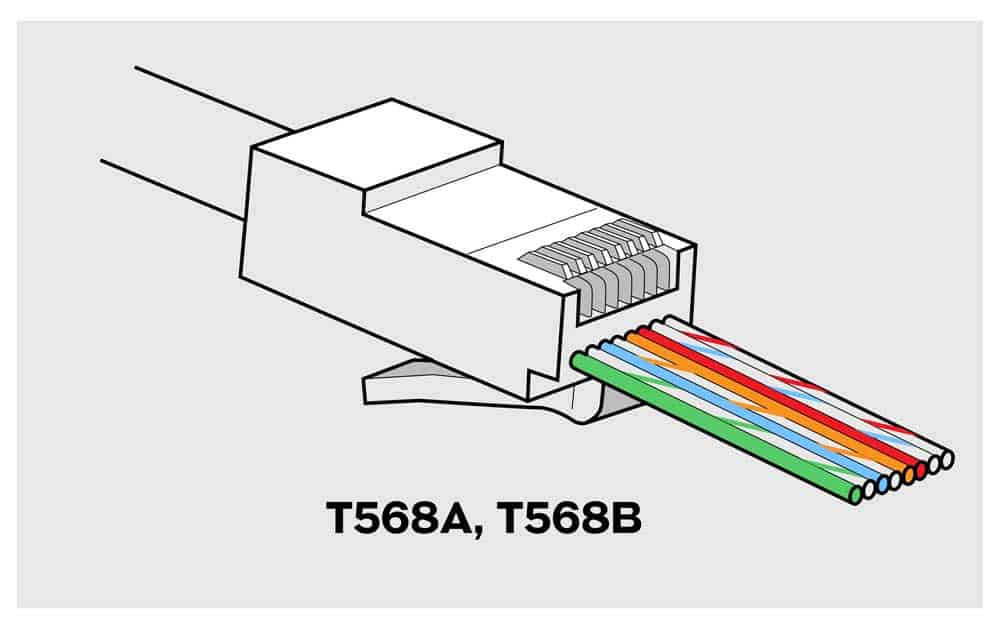
RJ45 Network Cable Connector T568A/T568B
Step Seven: Slide the wires carefully into the plug end
Connect the cable end with an 8P8C modular connection, with eight wire holes arranged inside. To ensure that your wiring is correct, follow the T568B diagram from left to right and make sure that the retainer clip faces down.
Gently insert each of the wires into their respective slots to avoid shifting them around too much. Additionally, keep in mind to maintain the positioning of the ground wire away from any other connections in this setup process.
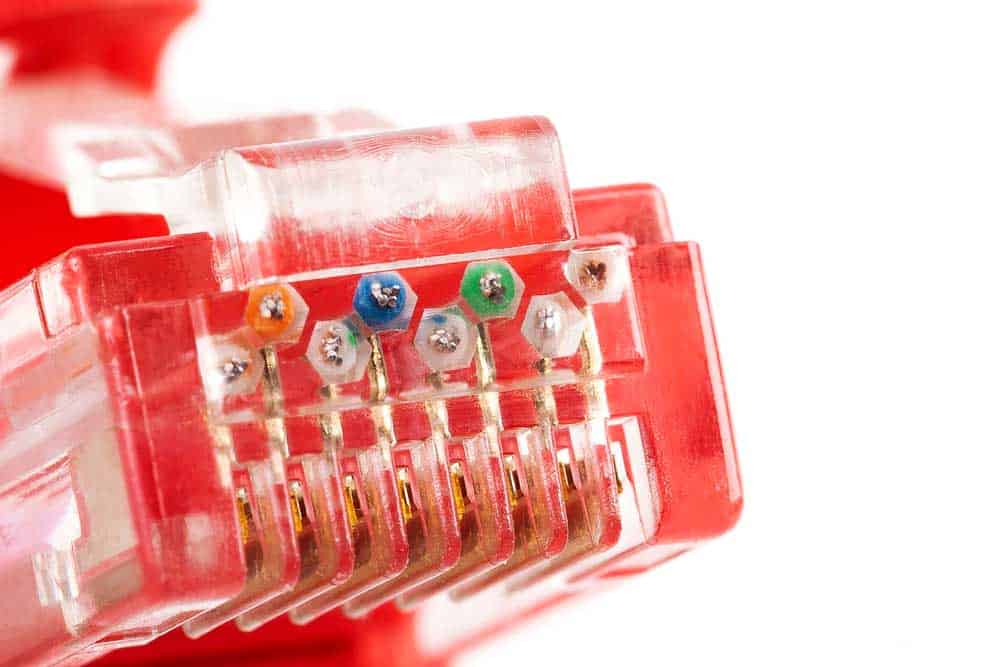
8P8C, RJ-45 crimped red ethernet connector
Step Eight: Using a crimping tool, firmly affix the plug end
Put the wires firmly into their slots on the plug end, and then use a crimping tool to hold them in place so that your installation process is complete.
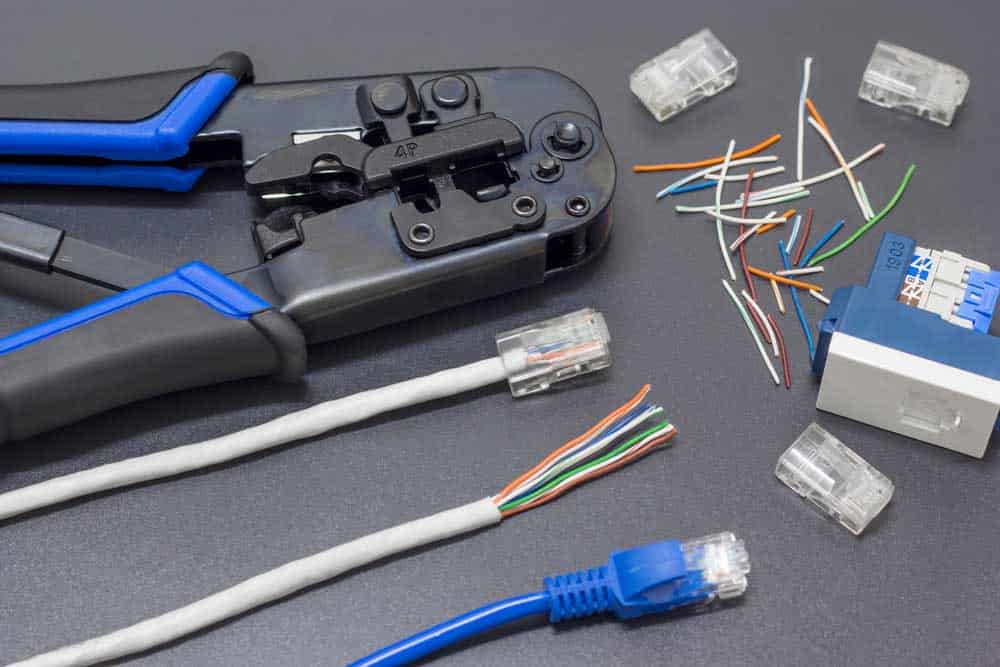
Lan cable crimpers
Step Nine: Mirror the Process on the Opposite Half of the Cable
If a Starlink cable is damaged in the center, follow steps 2 to 10. As you reattach the power cables to the other plug end, use the same wire order as the other half.
Step Ten: Bring the two ends together with a Cat 6 Coupler
With both segments of your cable securely connected, it is time to unite them. You require a Cat 6 cable with two distinct terminations at either end for this task. To reconnect the wire, plug one side into the coupler and add the second conclusion.
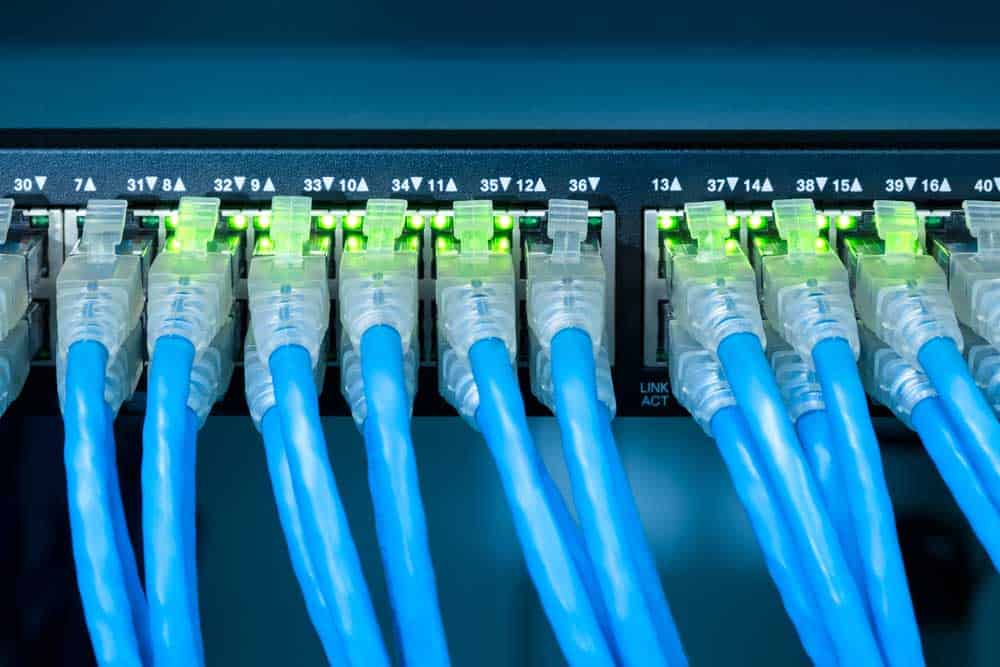
Port cat 6 ethernet cables
Step Eleven: Establish a Ground Connection
To connect the Starlink system, incorporate a ground wire. If it is too short, cut an additional segment from the worn-out space and confirm that there are no cracks or breaks in it before you trim it down to an appropriate length. Then attach both pieces, utilizing wire nuts for secure fastening.
Summary
Thank you for reading our blog post on Starlink Cable. We hope that you found the information helpful and that you were able to repair your damaged Starlink cable. If you have any further questions, please do not hesitate to contact us.