
How to Install a Starlink Antenna? If you live in a remote area that lacks internet infrastructure, consider Starlink Wi-Fi.
It’s fast and reliable, relying on low-orbiting satellites and antennas for connection.
The good thing about the Starlink antenna is that its installation process is straightforward.
You don’t need the expertise to install one successfully.
Yet, there are important factors and steps to consider to ensure that you have a good internet connection.
Here, we’re highlighting all you need to install a Starlink antenna.
Table of Contents
- How to Install a Starlink Antenna
- The Type of Antenna Starlink Uses
- What’s the Size of a Starlink Antenna
- FAQs
- Final Thoughts
How to Install a Starlink Antenna
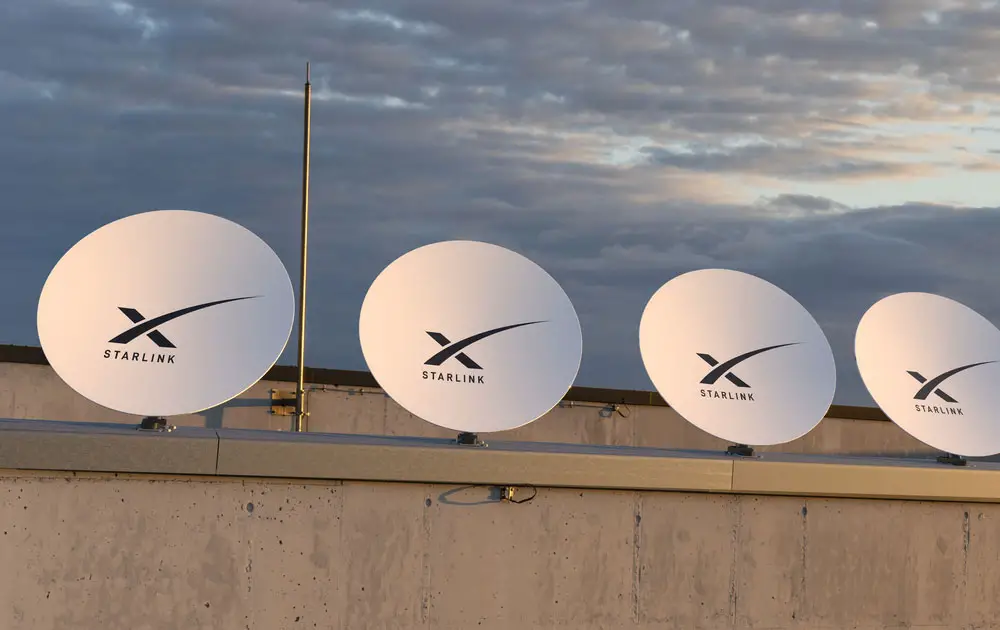
(Four round Starlink antennas)
Installing a Starlink antenna isn’t as challenging as it may seem. Yet, you have to read and understand the user manual before proceeding.
If you’ve done so, here are steps to follow while installing a Starlink antenna.
What You Need
The tools and materials necessary differ depending on where the installation takes place. Generally, some common tools you’ll need include:
- A hammer
- A pair of pliers
- A rust-proof iron clip
- A set of screwdrivers
- Screws and nails
The Starlink antennas Kit
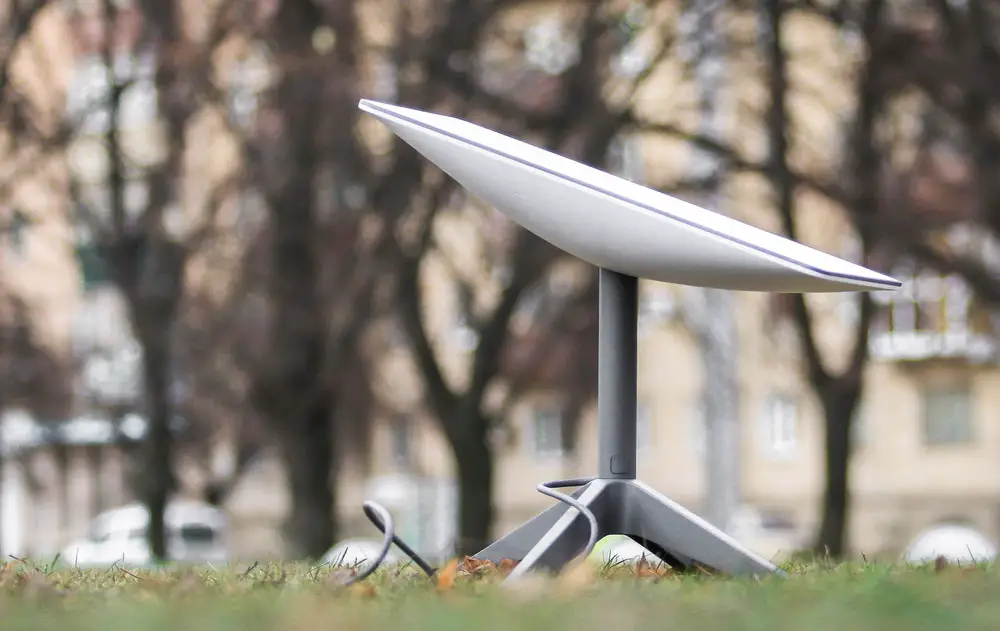
(A Starlink rectangular antenna)
Here’s what you’ll find inside the Starlink kit:
- Starlink dish/ antennas
- Starlink Wi-Fi router
- AC power cable
- Mounting base
- 75-foot cable
Installation Steps
After receiving the Starlink kit, the next question is how to mount and install the antenna. Here’s all you have to do.
Step 1: Assemble the Antenna and Stand
After unpacking your Starlink kit, the first step is to assemble the mounting base and the dish.
However, the mounting cable comes plugged into the dish, and you’ll need to unplug it.
Next, place the antenna mast into its slot in the mounting base. Be careful to align the groove on the mast to the rail within the mounting base.
Step 2: Plug in the Connector Cable
The 75-foot connector cable has different types of connectors at both ends. Therefore, you’ll find it simple to differentiate the two ends.
Next, plug the end with a straight plug connector into the mast port. Afterward, push in the connector while listening to a click sound that signifies the plug is in the right spot.
Step 3: Survey for a Place to Install the Antenna

(A man surveying a house for a perfect installation spot)
Starlink antennas need an unobstructed view of the sky for better internet connectivity. Consequently, look for a higher ground that allows the disk a minimum of 100 degrees of unobstructed space.
Excellent places to install your antennas include rooftops, open fields, or on top of a fence.
Alternatively, you can pick a spot and use the Starlink app to scan the sky for any obstructions that may interfere with the signal.
Step 4: Mount the Antenna
Mounting the antenna is easy, especially if you prefer mounting it on the ground.
The Starlink antenna differs from most Wi-Fi systems which must be on higher grounds to transmit signals.
All it needs is a clear view of the sky; hence you don’t have to place it on higher ground.
If you prefer installing it on a higher ground, like the rooftop, you’ll need screws. Fortunately, the base has a hole in each of the four legs.
You can use the holes to attach the mounting base onto some wooden platform using nails or screws.
Step 5: Run the Cable From the Antenna to the Router
After ensuring that the antenna is firmly positioned, the next step involves running the cable from the antenna to the router.
Sometimes, you’ll need to buy additional Starlink accessories to route the cable through walls.
But most people find that unnecessary as they can route the cable through window openings.
Next, plug the free angular end of the cable into the Starlink router.
Step 6: Plug in the Power Cable

(Power cables plugged into a Golden electrical extension)
Lastly, plug the ac power cable into an electrical socket and wait for the router to start running.
Afterward, check your Starlink app to confirm your Wi-Fi connection. Once the router picks up a Wi-Fi signal, the app alerts you to set your Wi-Fi name and password.
The Type of Antenna Starlink Uses
Starlink uses two electronic phased array antenna designs to receive satellite Wi-Fi signals.
The antenna is either circular (old model) or rectangular (new model). For your information, SpaceX chose to adopt the rectangular design to cut production costs.
Furthermore, the antennas use electronic phased array technology to steer their beam electronically following the satellites.
In other words, the Starlink antennas don’t move physically following the moving satellites.
What’s the Size of a Starlink Antenna

(A Starlink antenna on a truck)
The circular Starlink antenna has a diameter of 23 inches, whereas the rectangular one measures 20.25 by 12 inches.
The rectangular antenna has a broader base measuring 22 by 12.875 inches. Additionally, the mounting base with the antennas has a similar measurement of 22 by 12.875 inches.
On the other hand, the Starlink business (high-performance) dish is bigger and measures 22 by 20 inches.
A common attribute of the three antennas is that they are compact and lightweight.
FAQs
What is the price of the Starlink antenna?
The price of the base Starlink antenna is lower than the newer Starlink Premium antenna.
The base antenna costs $499, which is non-inclusive of a $99 monthly fee. On the other hand, the Premium antenna has a price tag of $2,500.
You’ll then pay a $500 monthly fee to access faster internet speeds with low latency.
Can you install a Starlink antenna yourself?
Yes. Installing a Starlink antenna is straightforward, and you can do so yourself. However, you need to have some technical knowledge of installation.
But if you don’t, ensure that you read and understand the information in the user manual before proceeding.
Also, install the Starlink antennas in a place with a clear view of the sky.
Which way should a Starlink antenna face?
The Starlink system relies on a constellation of satellites for connectivity. The Starlink satellites orbit the earth some 500 km above the ground in a west-to-east direction.
Therefore, if you live in the Nothern hemisphere, place your Starlink antenna to face northwards for the best connection.
If you live in the Southern hemisphere, point your dish southwards.
Final Thoughts
Starlink Wi-Fi will someday revolutionize remote area connectivity across the globe.
The antennas are powerful and communicate with low-orbiting SpaceX satellites with low latency.
Furthermore, you only need one antenna for a mesh system with broader coverage than a single router.
However, as much as Starlink antennas are self-positioning, you’ll still have to install them facing either North or South.
If you’re unsure which direction to face it, consult the Starlink website or app. Finally, reach out to us for any comments or clarifications.