
It’s normal for your satellite dish to need adjusting from time to time. If you have a spotty or weak signal, or your channels are just not coming in, it’s time to readjust your satellite dish. With the right knowledge, you can get the best signal possible from your service provider and enjoy a reliable signal and maximum performance. Here’s a complete guide on how to adjust the satellite dish.
Table of Contents
- How to Adjust and Align a Satellite Dish
- Tips to aim and align a Satellite Dish
- How to Tilt Starlink Dish
- Frequently Asked Questions (FAQs)
- Conclusion
How to Adjust and Align a Satellite Dish
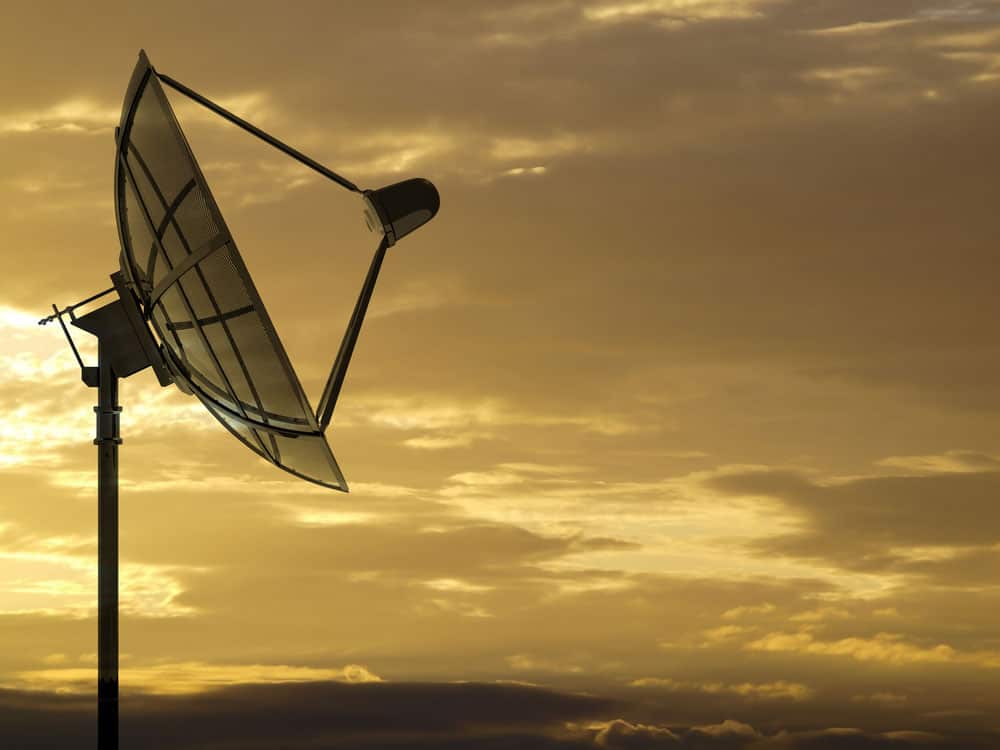
A satellite dish in the morning
There are three plains where you can adjust the satellite dish: azimuth, elevation, and skew adjustment. Before getting started, I recommend installing the Dishpointer app, found on your phone on the App Store (for iOS) or Google Play Store (for Android).
Once you enter your geographic location, the app will give you a satellite map of the sky, showing you all the satellites in relation to your location. It tells you where you can and can’t install your dish if you want to avoid obstructions.
If you are in the market for a satellite dish, I highly recommend the KING Tailgater Pro Mountable Satellite Dish (on Amazon). It’s an easy-to-use product designed to provide you with the best signal possible, and it’s good for camping and home use.
AZIMUTH (East and West) Adjustment
Azimuth determines the left and right direction of the dish. Normally, it is calculated from North or South. You can adjust it either with a compass or the Dishpointer app, which will give you the direction you need to point the dish in.
Once you have your bearing, rotate the mount or dish until it is facing that direction. You can then fine-tune the dish’s position. The signal strength will increase or decrease as you adjust the azimuth.
Azimuth is the most important adjustment for getting a strong and clear signal. After getting it right, everything else should be easier.
Elevation Adjustment
Elevation determines the up and down position of the dish. The elevation needs to be adjusted correctly, as the signal will increase or decrease depending on how high and low the dish is pointing.
Again, you can use the DishPointer app to calculate the exact elevation. You will then need to rotate the dish mount until it is pointing in that direction. Your dish angle of elevation will depend on the type of satellite you are trying to track and its location in the sky.
Once you have set the elevation, it is also a good idea to recheck the azimuth position. It is possible that adjusting the elevation may result in a slight change in the direction of the azimuth. If this is the case, make sure to readjust it accordingly.
LNB Skew Adjustment
Finally, the LNB (Low Noise Block) needs to be adjusted. This part of the dish is essentially a receiver, so it needs to point at the satellite to receive a signal.
The LNB skew angle is the angle at which the LNB should orient. You can adjust it by rotating the LNB bracket, usually found at the back of the dish.
As with azimuth and elevation adjustments, you can use DishPointer to find the correct skew angle for your dish. Once you have found it, adjust the LNB bracket until it is pointing in that direction.
Tips to aim and align a Satellite Dish

Satellite dish transmission data
Here are a few tips to help you get the right angle and aim your dish:
- One, make sure the dish is mounted securely on a flat surface. This helps prevent any wobbling or instability during alignment.
- Secondly, allow for a few inches of adjustment around the dish mount, as this will make it easier to adjust the dish if you need to fine-tune it.
- Also, check the signal strength regularly as you are adjusting the dish. You should know when an adjustment has been successful if you hear a beep or see an increase in the signal strength.
- You can ask someone to help you with the alignment process. It becomes much easier when two people are involved.
Finally, remember that accuracy is key when aligning the dish. Even a few degrees off can greatly reduce your connection’s signal strength and quality.
How to Tilt Starlink Dish
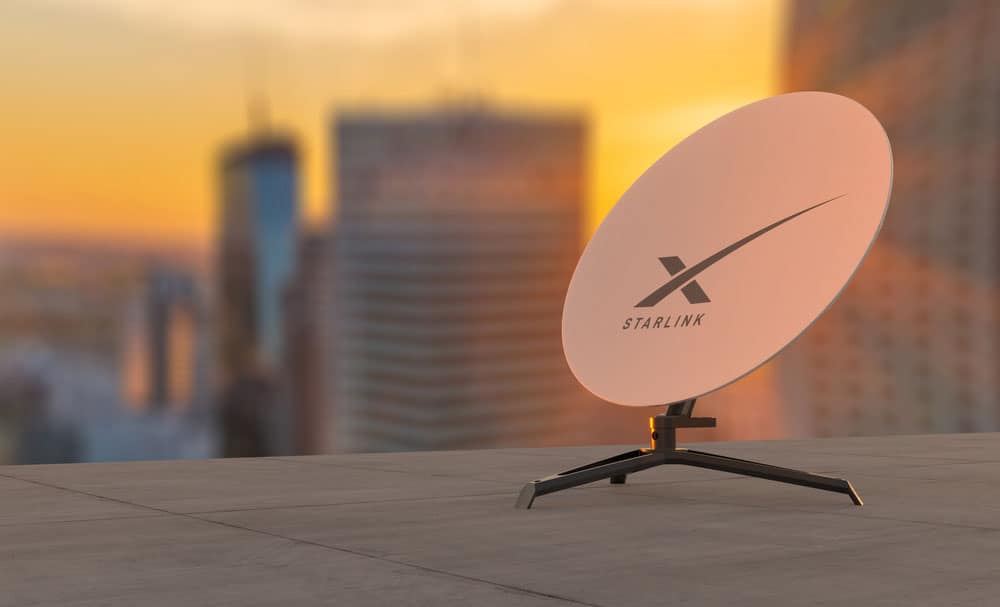
Starlink dish
Starlink dish is more sensitive than the traditional dish antenna and needs to be adjusted with more precision. Here are the steps for adjusting your Starlink dish:
- First, use the Starlink app to identify the best location for your dish. This will give you an accurate reading of the satellite position, helping you to align the dish properly.
- Next, place the dish in a manner that it is facing the sky without any obstacles or buildings blocking its view. The app will also help you with this.
- Once done, position your Starlink in place and plug it in power. The dish will automatically search for satellites and adjust its position. Do not do it manually.
- After a few minutes, the dish will tilt and become aligned with the satellites in the sky.
Frequently Asked Questions (FAQs)
What is the correct angle for a satellite dish?
The geographical location and elevation of the satellite dish installation determine the correct angle for a satellite dish. Normally this is in a south-to-southeast direction. Use a compass or the position of the sun to achieve it.
What direction do most satellite dishes face?
Most satellite dishes are pointed towards the south in order to receive the strongest signal from geostationary satellites. For optimal performance, a satellite dish should also be placed on a roof or other elevated surface for the best reception.
Is there an app to align a satellite dish?
Yes, there are several apps available for aligning satellite dishes. These apps provide tools such as an augmented reality overlay to help you find the best position for your dish and satellite signal meters to measure signal strength. The Dishpointer App is a popular choice for this purpose.
Why does a satellite dish need to be grounded?
Safety is the primary reason for grounding a satellite dish. A grounded satellite dish provides an escape route for electricity, protecting your home from power surges and electrical fires. In addition, a grounded dish also helps to prevent interference from other electronic devices and improves the quality of your satellite signal.
Conclusion
Once you have completed all of the adjustments, you should be able to receive a strong and clear signal from your satellite dish. If you are still having problems, it is best to consult a professional satellite installer. They will be able to help you with any complex adjustments that you may require. Good luck!